A Step-by-Step Guide to Setting Up a WordPress Blog

Starting a WordPress blog might seem intimidating, but breaking it down into manageable steps makes it simpler. First, decide on a blog identity that reflects your niche and audience. Next, secure a domain name and a reliable hosting service. Once you have those, installing the WordPress software is straightforward. But how do you ensure your blog stands out with a customized theme, essential pages, and effective SEO? To uncover these significant details and more, let's walk through each step methodically to guarantee your blog's successful launch.
Choose a Blog Identity
Choosing a blog identity is the first and most crucial step in setting up your WordPress blog. Begin by visiting WordPress.com and clicking "Get Started" to create an account. This account will enable you to select a blog identity tailored to your preferences. During the setup process, you'll provide information about your blogging goals, and WordPress will offer personalized recommendations and resources to help you define your blog's focus.
Selecting a blog name is critical. Your blog name should clearly reflect the content you plan to share, ensuring it connects with your target audience. This name will be set as the Site Title in the General Settings of your WordPress dashboard, making it a key element of your blog's identity. It's significant to choose a blog identity that engages your target audience, as this will attract followers and help build a community around your blog.
Select Domain and Hosting
When setting up your WordPress blog, one of the most vital steps is to select a domain and hosting. Start by choosing a unique and memorable domain name that reflects your blog's niche and is easy to spell. Typically, the cost of a domain name is around $1.99/month for the initial year when bundled with hosting services.
Next, pick a reliable hosting provider. Companies like Bluehost and SiteGround offer essential features such as speed, security, and 24/7 customer support. Their plans range from $60 to $120 annually and often include a free domain registration for the first year, simplifying the setup process and reducing initial costs.
When evaluating web hosting plans, consider scalability and performance, as these factors will affect your blog's growth and user experience. Additionally, purchasing domain privacy protection can keep your personal information secure and prevent spam from being sent to your registered email address.
Here's a quick comparison of popular hosting providers:
| Hosting Provider | Cost (Annual) | Key Features |
|---|---|---|
| Bluehost | $60 - $120 | Free domain, 24/7 support |
| SiteGround | $60 - $120 | Speed, security, scalability |
| HostGator | $70 - $100 | Free domain, performance |
Selecting the right domain name and hosting provider is fundamental for your blog's success.
Install WordPress Software
After securing your domain and hosting, the next step is to install WordPress. Start by logging into your hosting account's control panel and look for the one-click installation option. This feature simplifies the setup process and typically takes less than five minutes. You'll need to fill in the required site details, such as your blog name, admin username, and password, to give your site a unique identity and ensure security.
Once the installation is complete, you can access your WordPress dashboard by navigating to yourdomain.com/wp-admin. The dashboard allows you to manage all aspects of your blog, including posts, pages, and settings.
To ensure a smooth experience, verify that your hosting provider supports automatic updates for WordPress. This feature keeps your software up to date, maintaining both security and performance.
Consider installing essential plugins right after the installation to enhance your blog's functionality. Recommended plugins include:
- Yoast SEO: Enhances your blog's search engine optimization.
- Akismet: Protects against spam comments.
- Jetpack: Provides site performance and security features.
- WPForms: Simplifies form creation for contact pages.
With WordPress installed and essential plugins added, you're ready to start managing your blog!
Customize Your Theme
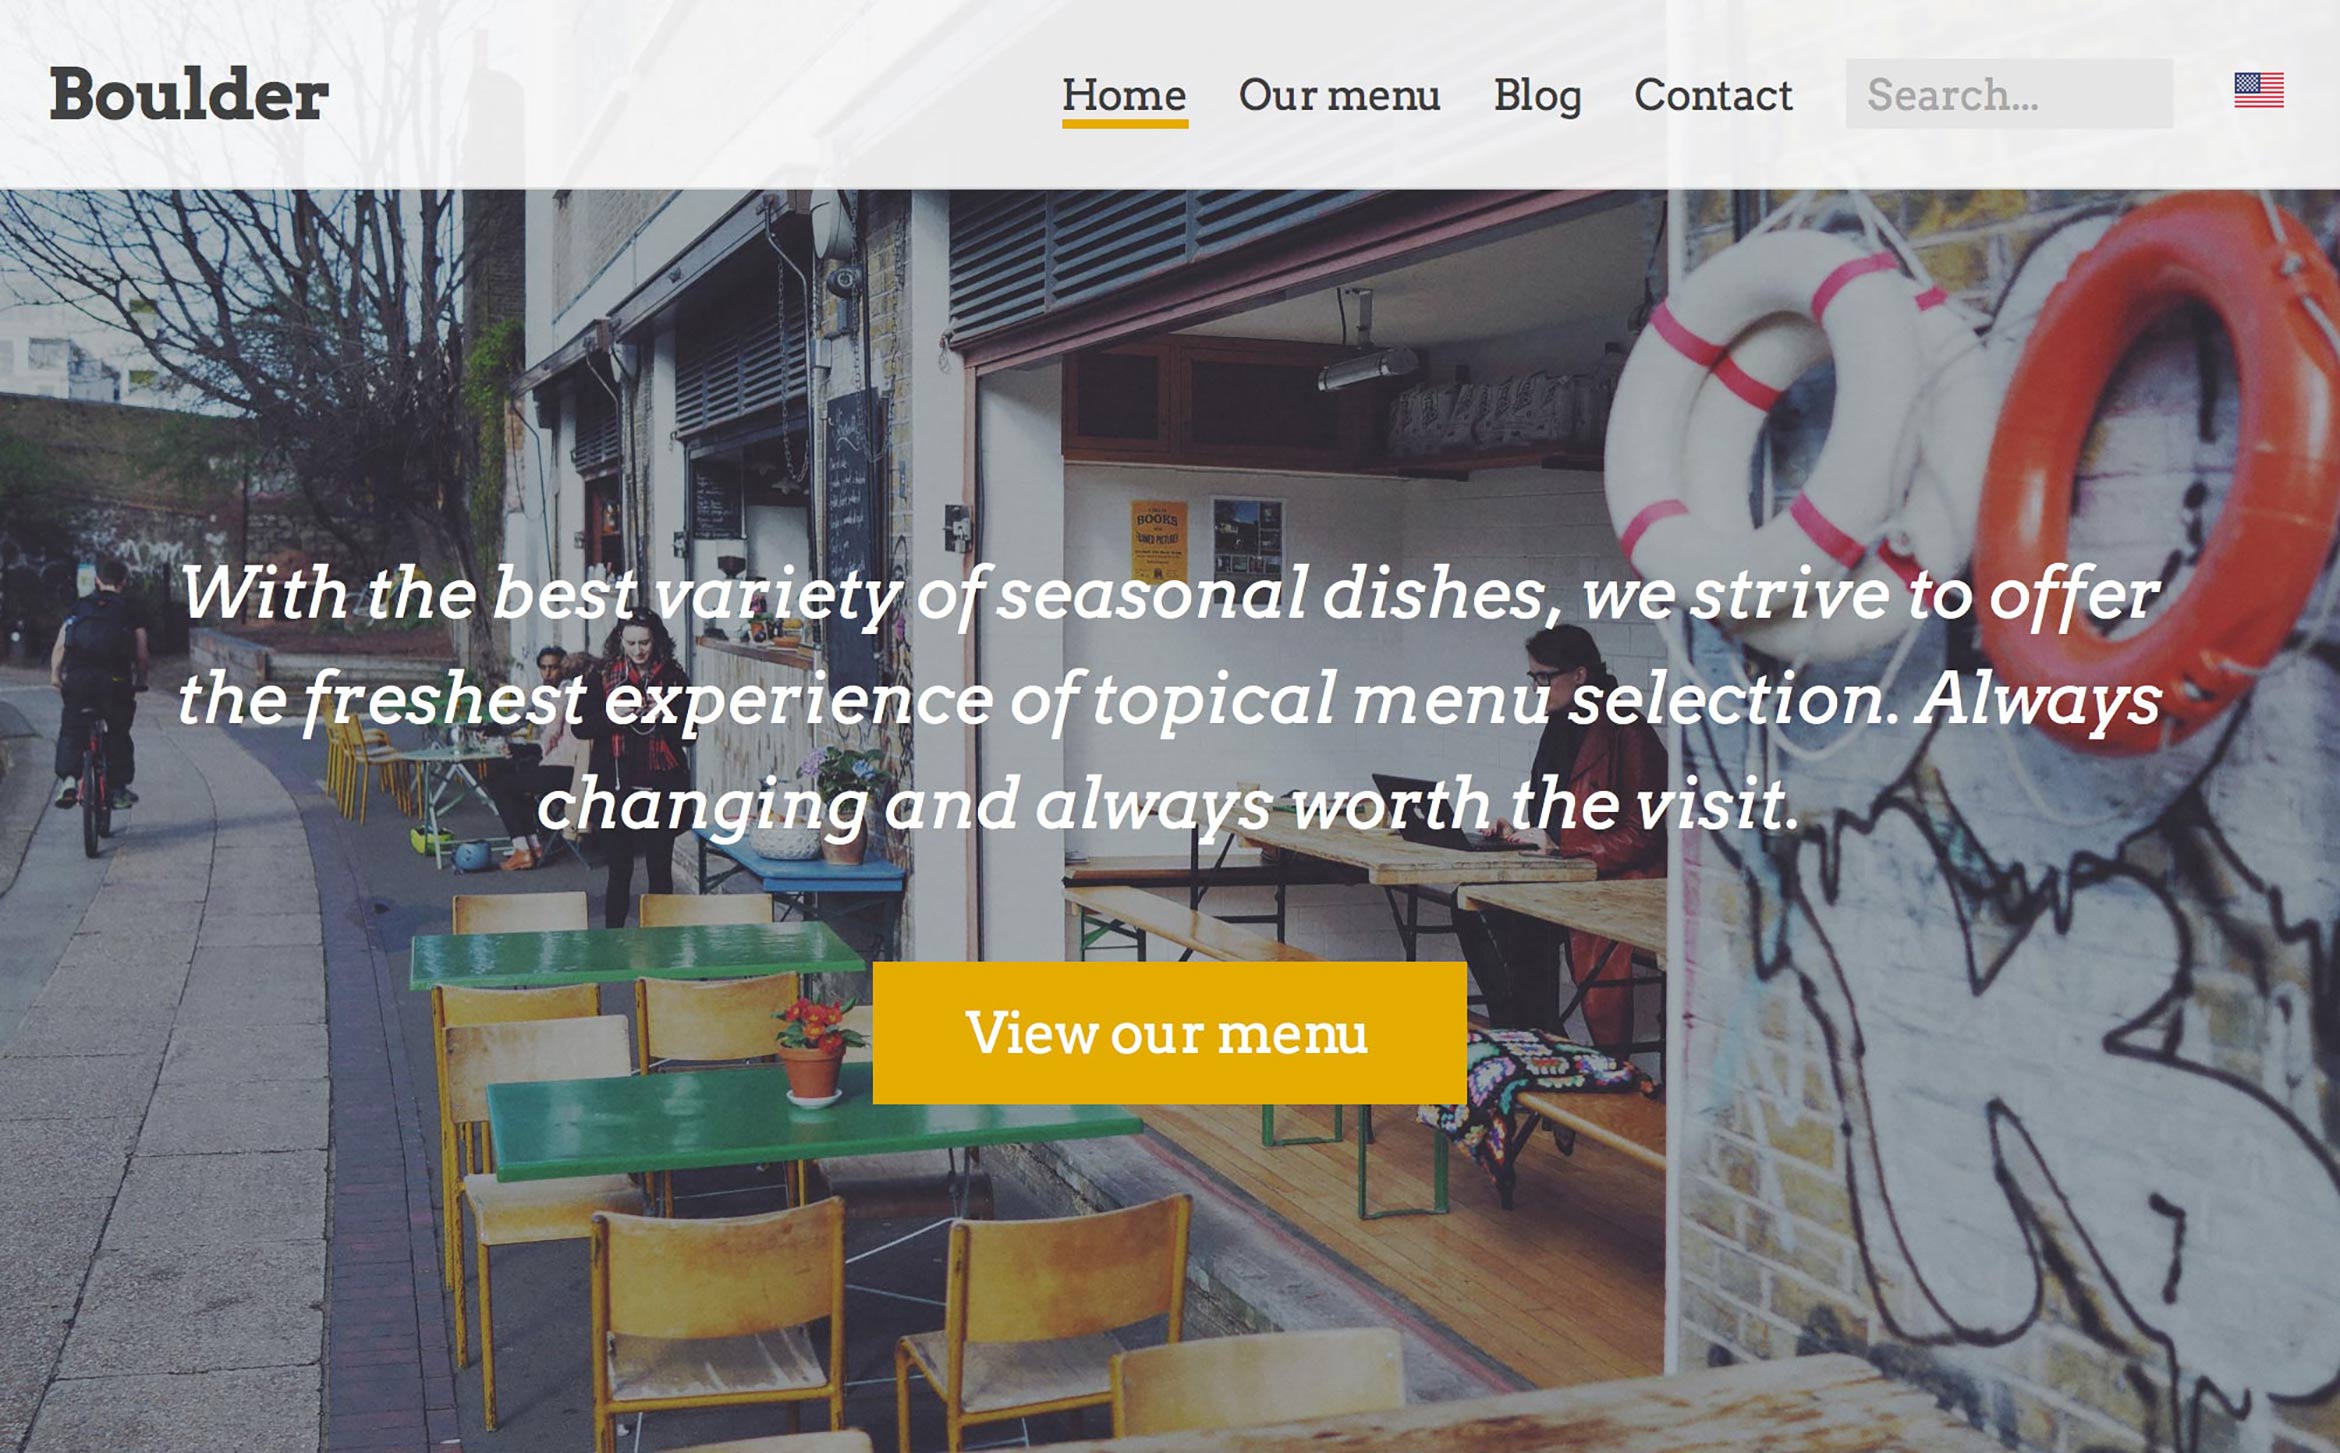
To start customizing your theme, navigate to Appearance > Themes in your dashboard to choose a theme that aligns with your blog's niche and audience. Use the WordPress Customizer to adjust elements such as the site title, header image, and background color in real-time. For more advanced customization, utilize the Full Site Editor (FSE) to personalize templates and content blocks according to your vision.
Selecting the Right Theme
Choosing the right theme is crucial for your WordPress blog, as it significantly affects both appearance and functionality. To ensure your blog stands out and performs well, consider several important factors when selecting a theme.
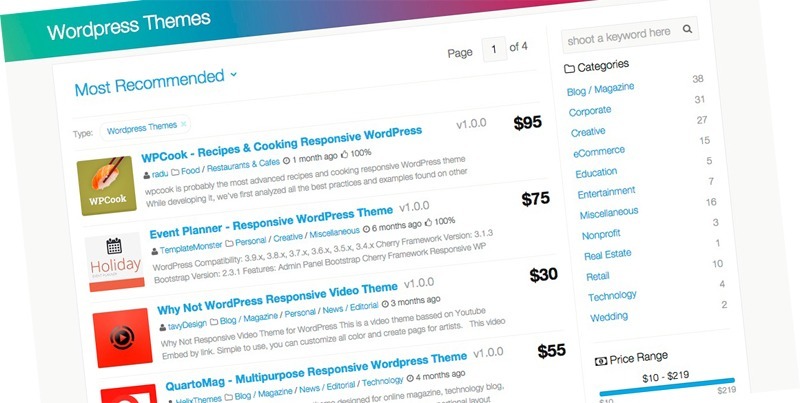
The WordPress theme repository offers a wide range of free and premium themes. Premium themes, typically priced between $30 and $100, often provide superior performance and support. Responsive themes are essential because they ensure your blog looks great on all devices, a critical feature since over 50% of web traffic originates from mobile users.
Here are key points to keep in mind:
- Responsive Design: Ensures your blog looks good on all devices, enhancing the user experience.
- SEO-Friendly Themes: Boosts your blog's visibility and organic traffic by following best practices.
- Customization Options: Check if the theme allows adjustments to colors, fonts, and layouts to match your brand identity.
- Regular Updates: Choose themes that receive regular updates to stay compatible with the latest WordPress version and plugins.
Customization Tools Overview
Customizing your WordPress theme is essential for creating a unique and engaging blog. The WordPress Customizer allows you to adjust site elements such as colors, fonts, and layouts in real-time, providing a live preview of changes before they are implemented.
For more advanced customization, Full Site Editing (FSE) offers extensive design flexibility by enabling modifications to entire templates and post layouts. FSE is beneficial for both beginners and experts, facilitating the creation of a cohesive and visually appealing blog.
Explore thousands of WordPress themes in the theme repository, which includes both free and premium options. After selecting and activating a theme, you can further customize it using built-in widgets to enhance interactivity. Easily add features like search bars, recent posts, or social media links to your sidebars and footers.
For those seeking more control without needing to code, plugins such as Elementor or Beaver Builder are invaluable. These tools simplify the process of designing custom pages, ensuring a professional appearance even for beginners.
Personalizing Design Elements
Personalizing your WordPress theme is essential for creating a distinctive blog. Begin by accessing the WordPress Customizer through Appearance > Customize. This tool allows you to make real-time adjustments to your site's identity, colors, fonts, and layouts, ensuring your blog reflects your brand's unique style.
Ensure your theme has a responsive design that adapts to various screen sizes, providing an optimal experience on any device. For more advanced customization, utilize the Full Site Editor (FSE) to modify templates and design unique layouts without coding.
Enhance visual appeal by incorporating these elements:
- Logo and Header Image: These elements should embody your brand's identity, making your blog easily recognizable.
- Colors and Fonts: Select a color scheme and typography that match your brand's personality.
- Layout Adjustments: Try different layouts to find the one that best displays your content.
- Preview Changes: Frequently preview your design changes before publishing to ensure consistency across all pages.
Create Key Pages
Creating key pages for your WordPress blog is essential for building a strong foundation and fostering trust with your readers. Start by creating an "About Me" page, where you share your personal story, blogging journey, and the purpose of your blog. This page helps readers connect with you on a personal level, increasing the likelihood that they will return.
Next, set up a "Contact" page. This should include a form or your email address to facilitate communication with your audience. Providing a clear and accessible way for readers to reach out with questions, feedback, or collaboration inquiries enhances engagement and builds a loyal community.
Don't forget to include a "Privacy Policy" page. This is not just a best practice but a legal requirement if you're collecting personal information. It informs visitors about how their data will be used and protected, increasing your credibility and compliance.
Write Your First Post
When crafting your first blog post, focus on creating an engaging narrative that captures your readers' attention immediately. Utilize WordPress's formatting tools to enhance your content with headings, images, and other media elements. Connect with your audience by sharing your story and setting the tone for future posts on your blog.
Crafting a Compelling Narrative
Embarking on your blogging journey starts with crafting a compelling narrative for your initial post. This first entry sets the tone for your blog and helps establish a connection with your readers. Introduce yourself and share your blogging experience to create a personal bond and make your content more relatable and engaging.
Clearly outline the theme and purpose of your blog to set reader expectations. Inform your audience about the type of content you will provide and why they should keep coming back. Use engaging storytelling techniques, such as anecdotes, relatable experiences, or humor, to captivate your audience. This approach makes your writing memorable and encourages readers to return.
Enhance your post with relevant images or multimedia elements. Visuals not only break up the text but also make your post more appealing and easier to read. Conclude with a call to action, encouraging readers to follow your blog or share their thoughts in the comments. This fosters engagement and builds a sense of community.
- Introduce yourself and your experience
- Define the theme and purpose
- Use engaging storytelling techniques
- Incorporate relevant images or multimedia
Utilizing Formatting Tools Effectively
To write your first WordPress post, start by familiarizing yourself with the platform's formatting tools. Access the WordPress dashboard, click on "Posts," and select "Add New Post." This will open the block editor, a versatile tool that lets you structure your content efficiently. Use it to add paragraphs, images, and headings, which not only improve readability but also boost your post's SEO.
Correct Use of Headings
- H1: Use for your main title. Only one H1 per post to maintain clarity and enhance SEO.
- H2: Use for subheadings within your content.
Adding Images
- Ensure you include alt text for each image to enhance accessibility and search engine optimization.
Quick Reference Guide
| Formatting Tool | Use Case |
|---|---|
| H1 Heading | Main title of your post |
| H2 Heading | Subheadings for sections |
| Paragraph Block | General content writing |
| Image Block | Adding images with alt text |
Before publishing, utilize the "Preview" feature to check how your post appears on different devices. This ensures your formatting is consistent and provides a better experience for your readers. By mastering these formatting tools, your initial post will be engaging and optimized for search engines.
Engaging With Your Audience
Crafting your initial blog post is essential for setting the tone and establishing a connection with your audience. Begin by introducing yourself and clearly outlining the theme of your blog. This introduction helps engage your audience from the start. Share your motivations for starting the blog and what readers can expect in future posts.
Encourage your readers to join this blogging journey. Invite them to subscribe for updates and share their thoughts in the comments section. This approach not only builds a community but also fosters interaction.
Utilize the block editor in WordPress to format your content effectively. Incorporate headings, images, and lists to enhance readability. Here are some tips to keep your readers engaged:
- Introduce yourself and your blog's theme.
- Ask readers to subscribe for updates.
- Encourage comments and feedback.
- Use headings, images, and lists for better readability.
Before publishing, preview your post to ensure all elements, such as links and images, function correctly and look appealing on different devices. Once satisfied, publish your initial post and embark on your blogging journey, creating valuable content and engaging with your audience.
Set Up Navigation Menu

Creating a navigation menu in WordPress is essential for guiding your readers through your blog effortlessly. To set up a navigation menu, go to the Appearance section in your dashboard and select "Menus." Here, you can create a new menu or edit an existing one. Make sure to include key links like Home, About, Contact, and various categories. This will help readers easily access important pages, enhancing their user experience.
You can also add custom links to external sites or specific posts, allowing you to tailor your navigation menu to meet your blog's unique needs. The drag-and-drop functionality makes it easy to arrange the menu items logically. Ensure that the menu flow is intuitive so visitors can find what they're looking for without any hassle.
After organizing your menu items, save your changes. Finally, assign the menu to a specific location in your theme, such as the primary navigation bar. This step ensures that your menu is visible and accessible to users. By following these steps, you'll create a seamless navigation experience that keeps readers engaged and returning for more.
Optimize for SEO
After establishing a user-friendly navigation menu, it's crucial to enhance your blog's visibility to search engines by optimizing for SEO. Begin with thorough keyword research using tools such as Google Keyword Planner or SEMrush. These tools help you identify the terms and phrases your target audience is searching for, thereby improving your content's visibility in search engine results.
Next, optimize your post titles and meta descriptions by incorporating primary keywords, as these elements significantly impact click-through rates and search engine rankings. Utilize header tags (H1, H2, H3) effectively to structure your content, making it easier for both readers and search engines to understand the hierarchy and context of your information.
Here are essential steps for effective SEO:
- Conduct keyword research using tools like Google Keyword Planner or SEMrush.
- Optimize post titles and meta descriptions with primary keywords to enhance visibility.
- Use header tags (H1, H2, H3) to structure your content for better readability and SEO.
- Implement internal linking to connect related blog posts and improve navigation.
Additionally, regularly update your content to keep it relevant and fresh, as search engines favor recently updated information. Aim for a content length of 1,500 words or more to improve SEO performance. Consider using an SEO plugin to streamline and enhance your efforts.
Add Essential Plugins

To enhance your WordPress blog's functionality and user experience, incorporating essential plugins is a crucial step. These plugins can significantly improve your blog's performance, security, and overall appeal.
A must-have plugin is Yoast SEO. It helps optimize your blog for search engines by providing guidance on best practices for titles, meta descriptions, and keyword usage. With Yoast SEO, achieving higher search engine rankings and attracting more visitors becomes more manageable.
Another essential plugin is Wordfence Security. This plugin offers robust protection against hacks and malware, safeguarding your site and maintaining your readers' trust. Features such as firewall protection, malware scanning, and login security ensure your blog remains secure.
Here's a quick overview of some fundamental plugins:
| Plugin | Functionality |
|---|---|
| Yoast SEO | Enhances search engine optimization |
| Wordfence Security | Protects against hacks and malware |
| Akismet | Filters spam comments |
| WooCommerce | Facilitates online store setup |
| Elementor | Provides a drag-and-drop page builder |
Additionally, Akismet is excellent for filtering spam comments, ensuring a cleaner and more engaging comment section. WooCommerce enables easy setup of an online store, and Elementor offers a drag-and-drop page builder for creating unique layouts without any coding.
Promote Your Blog
Promoting your blog effectively is crucial for increasing its visibility and attracting a loyal audience. Begin by leveraging social media platforms like Facebook, Twitter, and Instagram. Regularly share your blog content, engage with your followers, and join relevant groups to expand your reach. Social media is not just for sharing; it's about building a community around your blog.
Building an email list is another powerful strategy. Collect email addresses through your blog and send out newsletters highlighting your latest posts and exclusive content. This direct communication fosters reader loyalty and keeps your audience engaged.
Collaborating with other bloggers can also help promote your blog. Guest posting on popular blogs or exchanging backlinks introduces your content to new readers who might be interested in what you offer.
Additionally, use Google Analytics to track your blog's performance. This tool provides insights into your traffic sources and reader behavior, allowing you to adjust your strategies for better results.
Here's a quick checklist to help you stay on track:
- Utilize social media to share content and engage.
- Build an email list for direct communication.
- Collaborate with other bloggers for guest posts and backlinks.
- Use Google Analytics to track and optimize performance.
Promote your blog consistently, and you'll see your audience grow!