How to Create and Manage Blogs With a CMS

Creating and managing blogs with a CMS starts with selecting the right platform. A robust CMS should offer a balance of ease of use, customization options, and security features. After choosing your CMS, setting it up involves configuring essential elements such as headlines, cover photos, and author profiles to effectively organize your content. Additionally, linking dynamic content can streamline updates.
To ensure your blog stands out and engages your audience, optimize features like SEO tools, responsive design, and social media integration. Regularly update your content, utilize analytics to track performance, and ensure mobile compatibility to enhance user experience. By leveraging these strategies, you can maximize the effectiveness of your CMS and elevate your blogging strategy.
Choosing the Right CMS
When selecting a CMS for your blog, several key factors must be considered. Firstly, assess the ease of use. An intuitive platform is essential, particularly for beginners. WordPress, for example, dominates the market, powering approximately 43% of all websites due to its user-friendly interface and extensive library of themes and plugins, simplifying content management.
Customization options are another critical consideration. The CMS should allow you to tailor your blog's appearance and functionality to meet your specific needs. For more specialized requirements, platforms like Ghost or Contentful offer unique advantages, such as headless architecture or minimalistic designs, catering to more tech-savvy users.
Security features are paramount. Ensure the CMS can safeguard your blog against potential threats. Additionally, reliable support is crucial; having access to a robust support system can save you time and mitigate issues.
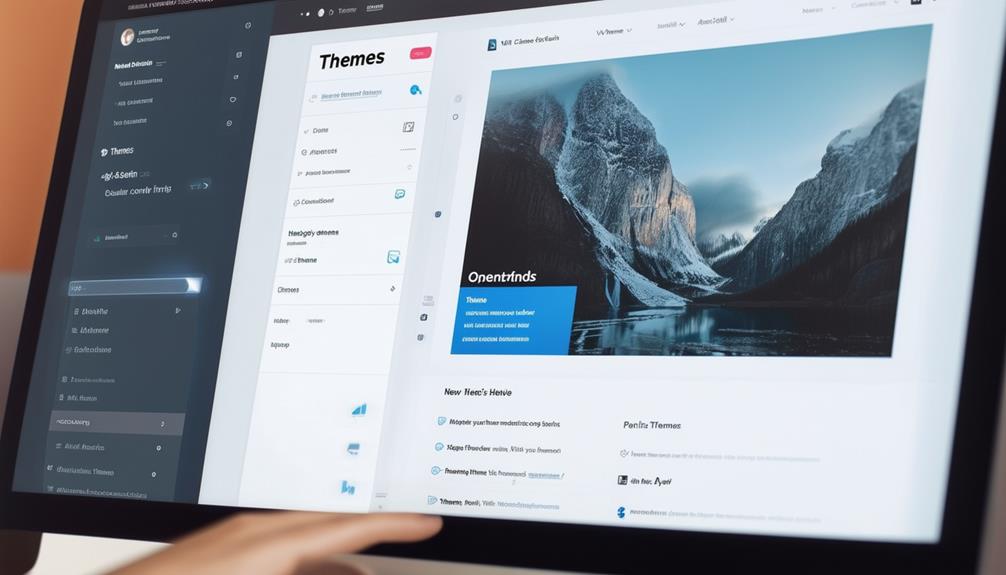
Setting Up Your CMS
Setting up your CMS for blogging begins with creating a comprehensive CMS collection. Start by defining essential fields such as headline, cover photo, alt-tag, author name, and publishing date. These fields are crucial for organizing and managing your content effectively.
To get started, follow these steps:
- Choose Your Template: Use Webflow templates for customization or create your own with custom input fields tailored to your specific blogging needs. This ensures your CMS solutions are both functional and visually appealing.
- Create Your Collection: Establish a collection list in your CMS to manage dynamic content. This facilitates streamlined content updates and organization, making it easier to keep your blog up-to-date and engaging.
- Link Static to Dynamic Content: Connect static elements on your blog pages to dynamic CMS components. Select elements like headlines or images and link them to the corresponding CMS input fields. This integration enhances the efficiency of your content updates.
- Seek Expert Help: Consider consulting Webflow Experts for assistance with your CMS setup. They can provide suitable templates and tips to optimize the functionality and design of your blog, ensuring your CMS solutions meet your content creation goals.
Connecting CMS to Layout
To connect your CMS to the layout, start by selecting the elements you want to link with CMS input fields using Webflow's settings. Each dynamic content field in your layout will correspond to an input field in the CMS, ensuring seamless data integration. Webflow templates often come with these connections predefined, so you won't need to configure everything manually. This streamlined process facilitates efficient and trustworthy content management, maintaining consistency and relevance across your site.
Linking Content Elements
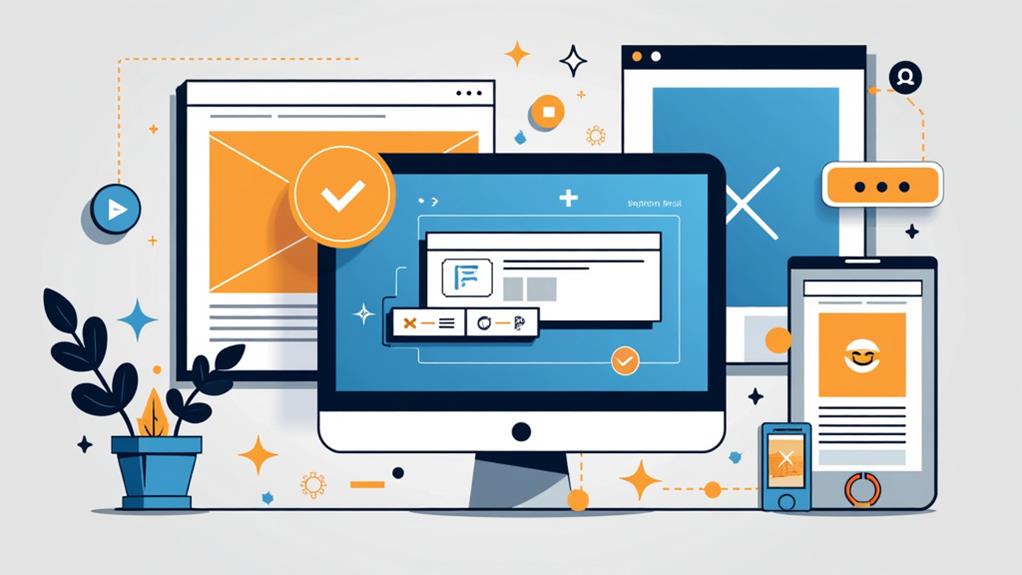
Connecting static content elements with dynamic CMS components is essential for effective blog management. Whether using Webflow or another CMS platform, properly linking content ensures your blog remains consistent and up-to-date. Here's how to seamlessly integrate static and dynamic content:
- Identify Static Content Elements: Determine the static elements on your webpage, such as headlines, author names, and dates. These elements need to be linked to corresponding dynamic fields in your CMS.
- Map CMS Fields: Ensure that each dynamic field in your CMS corresponds to an appropriate input field. For instance, the "headline" field in your CMS should be mapped to the headline element on your webpage, guaranteeing accurate data display.
- Use Predefined Connections: If using Webflow templates, leverage their predefined connections. These templates simplify the process for users unfamiliar with CMS integration, facilitating easier content linking.
- Ensure Consistency and Efficiency: Properly linking CMS content to your layout ensures that any changes made in the CMS are automatically reflected on your site. This improves efficiency, enables quicker updates, and maintains accuracy across your blog.
Dynamic Field Mapping
Dynamic field mapping is essential for linking your page layout's static content elements to specific CMS input fields. This process ensures that each dynamic field accurately corresponds to the data stored in your Content Management System (CMS). By selecting elements to connect with CMS input fields through settings, you streamline the integration between static design and dynamic content.
Many templates, especially those created by Webflow Experts, come with predefined connections. This simplifies the setup process, making it accessible even for users with minimal technical knowledge. Once established, dynamic content integration enhances efficiency. Any content updates made in the CMS are automatically reflected in your website layout upon publishing, eliminating the need for manual adjustments.
A well-executed dynamic field mapping process is fundamental for seamless content management. It ensures that authors can easily manage and display their posts without having to manually tweak the page design. This not only saves time but also reduces the risk of errors, providing a consistent and professional presentation across your blog. With dynamic field mapping, maintaining up-to-date and engaging content becomes straightforward, allowing you to focus more on creating quality content rather than managing it.
Template Integration Steps
Integrating your CMS with a page layout involves several straightforward steps to ensure a seamless connection. First, navigate to Webflow and select the static elements on your page. From the settings menu, link these elements to the corresponding dynamic CMS input fields. This ensures that dynamic content such as headlines, cover photos, and author names flows correctly into your layout.
To simplify the integration process, consider using Webflow Expert templates. These predefined templates come with built-in connections, making the setup and implementation of your CMS straightforward. They save time and reduce the complexity of the integration process.
It's crucial to set up your collection list in the CMS correctly. This setup will manage and display dynamic content seamlessly on your website. Proper configuration ensures that your content updates without issues and appears as intended.
Streamlining the connection process between static content and dynamic CMS components improves efficiency and minimizes errors. Follow these steps to achieve successful template integration:
- Link Static Elements: Connect static elements to dynamic CMS fields via settings.
- Use Expert Templates: Simplify setup with predefined connections.
- Configure Collection List: Properly manage dynamic content.
- Streamline Connections: Enhance efficiency and reduce errors.
Uploading Blog Content
Using the CMS interface makes uploading blog content seamless and efficient. By leveraging the Content Management System (CMS), you can easily publish new blog posts that automatically populate newly created pages with your provided content. Start by filling in essential fields such as the headline, cover photo, alt-tag, author name, and publishing date. These elements are crucial for effective content management and ensuring your posts are fully optimized.
The CMS also supports bulk upload options, allowing you to import multiple posts simultaneously. This feature streamlines the content enhancement process, especially if you manage a large volume of posts. Once uploaded, you can use the CMS's editing functionality to update or correct any content as needed.
Regularly check the CMS dashboard for performance insights and user engagement metrics related to your uploaded blog content. These analytics help you understand how your content is performing and guide future posts to better meet your audience's needs.
Editing and Deleting Posts
Maintaining the relevance and accuracy of your blog content is crucial for engaging your audience. Here are efficient ways to manage editing and deleting posts:
- Editing Posts: You can edit your blog posts directly on the post page or through the Actions menu, allowing you to update content as needed. The revision history feature lets you compare different versions of a post and revert to a previous version if necessary.
- Last Published Date: The editor displays the last published date, providing context on the post's timeliness. Hovering over this date gives more details, aiding in your decision to update the content.
- Unpublishing and Scheduling: You can unpublish posts that are no longer relevant or schedule future posts to maintain a consistent content flow.
- Deleting Posts: A confirmation dialog ensures deliberate choices when deleting content. This dialog allows you to delete one or multiple posts efficiently, with a reminder to back up significant content beforehand.
Dynamic Content Applications
Dynamic content applications within your CMS enable seamless integration of team member profiles, case study management, and podcast episode organization. These functionalities facilitate real-time content updates without requiring extensive coding skills. By linking static layouts with dynamic components, you can streamline workflows and enhance the user experience.
Team Members Integration
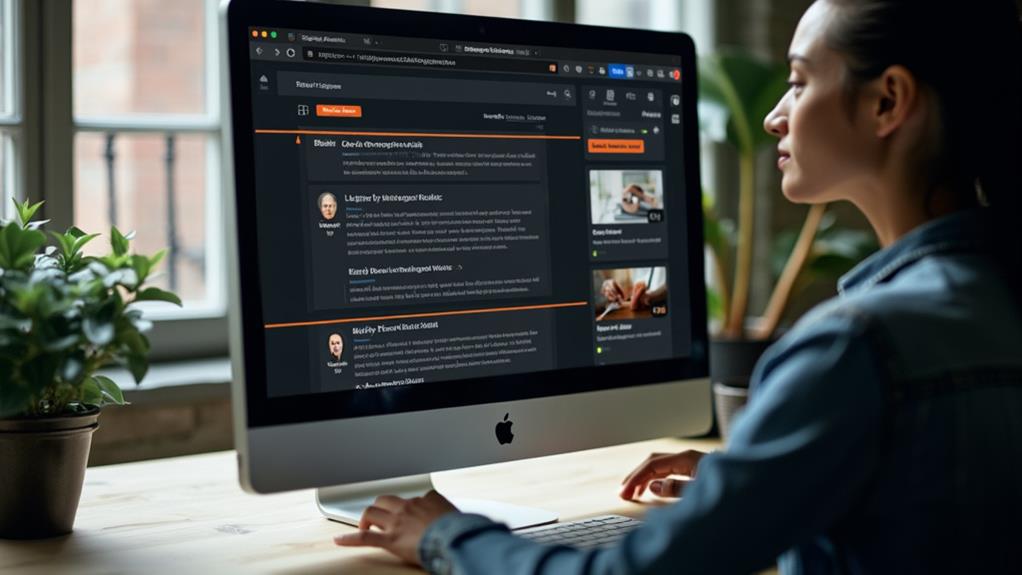
Utilizing a Content Management System (CMS) to manage your team members can significantly streamline your content creation process. Storing team member profiles within your CMS enables seamless author attribution, enhances accountability, and fosters better reader-author connections. Each profile can include essential information such as name, bio, and photo, making it easier for readers to engage with authors.
Integrating team members into your CMS allows for efficient management of roles and permissions, facilitating smoother collaboration on content development. This integration also supports dynamic content features that can automatically display team member contributions across various sections of your website, ensuring accurate and up-to-date representation.
Here are four key benefits of integrating team members into your CMS:
- Seamless Author Attribution: Automatically attribute posts to the correct authors, enhancing accountability and transparency.
- Enhanced Reader Connection: Display comprehensive team member profiles to strengthen reader-author relationships.
- Efficient Role Management: Simplify the management of roles and permissions, improving collaborative efforts.
- Scalability: Easily accommodate new authors as your blog expands, while maintaining consistent and efficient content management practices.
Incorporating these features into your CMS makes managing your blog more efficient and scalable, ultimately enhancing the overall quality and consistency of your content.
Case Studies Management
Managing case studies through a Content Management System (CMS) enhances efficiency and precision in your content strategy. A CMS enables you to easily manage, update, and display case studies on your website. Each case study can include essential fields like a headline, cover photo, author name, and publication date, ensuring all necessary information is consistently presented.
The CMS's collection list feature allows you to organize and categorize multiple case studies, making it easy to retrieve and update content. This structured approach means you can quickly access specific case studies when needed, saving time and effort. Dynamic content features enable these case studies to be automatically displayed on your site, seamlessly integrating with other static elements to improve user experience.
Editing, uploading, and deleting case studies are simplified through the CMS interface. Real-time updates can be made without the need for manual coding, ensuring your content remains current and relevant. By leveraging the dynamic content capabilities of a CMS, you enhance the accessibility and presentation of your case studies, keeping your audience engaged and informed.
Podcast Episodes Organization
Organizing podcast episodes within a CMS can significantly streamline your content management process, ensuring your audio content remains fresh and accessible. A CMS allows you to upload, edit, and delete episodes directly through its interface, ensuring your content is always current.
Each podcast episode becomes a dynamic content entry, utilizing essential fields such as episode title, cover image, audio file, description, and release date. This comprehensive management approach ensures every aspect of your podcast is well-documented and easily accessible.
By leveraging the CMS's collection list feature, you can create a structured display of your podcast episodes on your website. This feature automatically populates new entries as you add them to the CMS, keeping your content organized and your audience engaged.
A well-configured CMS enables the incorporation of episode transcripts and show notes, enhancing both accessibility and SEO optimization. Integration with email marketing tools further promotes new episodes, ensuring subscribers stay informed about the latest content.
Here's how to manage your podcast episodes efficiently:
- Upload and organize episodes with essential fields.
- Use collection lists for structured displays on your website.
- Include transcripts and show notes for better accessibility.
- Integrate with email marketing for effective promotion.
Enhancing Audience Engagement

The success of a blog often depends on how effectively it engages its audience. Implementing advanced commenting systems can significantly enhance audience interaction. These systems facilitate better moderation and foster meaningful discussions among readers. By providing detailed control over comment permissions and visibility, you can cultivate discussions, ensuring a positive atmosphere for your community.
Incorporating membership features is another effective strategy. By managing subscriber tiers and offering exclusive content, you can build community loyalty and interaction. This not only keeps your audience engaged but also makes them feel valued and part of a select group.
Email marketing functionalities are also crucial. They enable you to communicate new content updates and promotions effectively, keeping your audience well-informed and engaged. Regular updates through emails remind your readers about your blog, encouraging them to return for more.
Content Distribution Methods
Effective content distribution is the backbone of a successful blog. To optimize your reach and engagement, you need a robust content strategy. Here are four key methods to distribute your blog content effectively:
- RSS Feeds: Utilize RSS feeds to facilitate easy sharing and storage of your content across diverse platforms. This method enhances user engagement by making it simple for readers to access and subscribe to your blog updates.
- Social Media Integration: Integrate your blog with social media platforms like Facebook, Twitter, and LinkedIn. This allows for immediate sharing of new blog posts, increasing visibility and expanding your audience reach.
- Email Marketing: Use email marketing to communicate directly with your subscribers. By promoting your latest blog content through newsletters, you can drive traffic back to your site. Ensure your emails are engaging and provide value to maintain subscriber interest.
- Collaborations: Partner with influencers or other bloggers for guest posts. This strategy can significantly expand your audience by introducing your content to their followers.
Incorporate these methods into your content strategy, and use analytics tools within your CMS to track performance. This data will help you refine your distribution tactics and improve future promotions.
Development Considerations

While effective content distribution ensures your blog's reach, the core CMS (Content Management System) is the foundation for sustained success. Developing a high-quality CMS demands a significant investment of time and expertise from skilled developers and designers. This effort warrants annual fees that support ongoing improvements and feature expansions, ensuring the platform meets evolving user needs.
A CMS must prioritize an excellent writing experience to maintain user satisfaction. This involves providing intuitive interfaces and robust tools for crafting and managing blog posts. Additionally, high portability is essential. Users should be able to transfer their content seamlessly across different platforms without risking data loss or functionality issues. This flexibility is crucial for user retention.
Content ownership and the freedom to migrate to different platforms at any time are highly valued by users. Therefore, CMS developers must ensure their platforms align with these expectations, enhancing user convenience and satisfaction.
Here's a quick overview of important development considerations:
| Consideration | Importance | Impact on User |
|---|---|---|
| Development Time | Significant investment | High-quality product |
| Annual Fees | Justified by value | Continuous improvements |
| Writing Experience | High priority | User satisfaction |
| Content Portability | Essential | Seamless transfers |