How to Install a WordPress Theme: Step-by-Step Guide

Installing a WordPress theme is the initial step in transforming your website's appearance. Accessing your WordPress dashboard allows you to effortlessly choose and install a theme that aligns with your vision. Whether you're selecting a theme from the WordPress repository or uploading one from your computer, the process is straightforward. But how do you ensure it's activated correctly and customized to your liking? And what if you need to use FTP for the installation? Let's break it all down.
Choosing the Right WordPress Theme

Selecting the right WordPress theme is essential for aligning your website with its niche and target audience. Start by clearly identifying your website's niche, whether it's a blog, ecommerce site, or portfolio. This will help you choose a theme designed to meet your specific industry requirements and effectively engage your visitors.
Next, decide between free and premium WordPress themes. Free themes are ideal if you're working with a limited budget, but they often come with fewer features and less support. Conversely, premium themes usually offer more customization options, advanced features, and robust support, making them a worthwhile investment if your budget permits.
When choosing a theme, prioritize responsive design to ensure your site looks great on all devices, from smartphones to desktops. A responsive design enhances user experience and can improve your site's search engine ranking. Additionally, opt for a theme with a clean design. A simple, uncluttered layout not only enhances performance but also keeps your site professional and easy to navigate.
Installing a Theme From the Repository
Now that you've chosen the perfect theme, let's install it directly from the WordPress Theme Repository. Start by logging into your WordPress dashboard. Navigate to the 'Appearance' section and click on 'Themes.' This will take you to the Themes page, where you can browse through various WordPress themes.
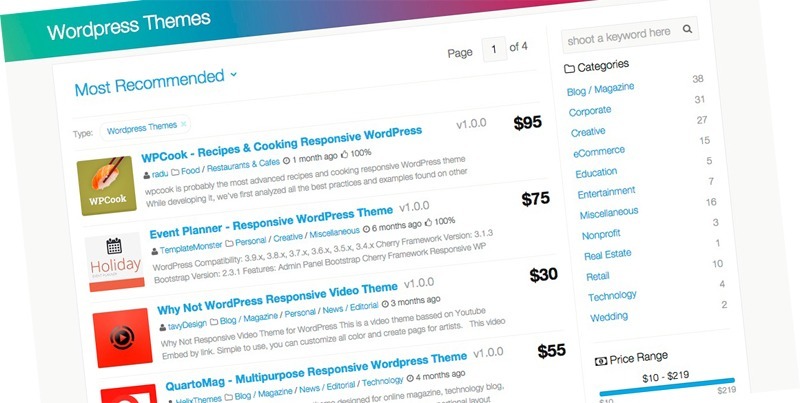
To find your desired theme, click on the 'Add New' button at the top of the screen. This opens the Theme Directory, which includes thousands of free themes vetted by WordPress for quality, security, and functionality. Use the search bar to filter themes by popularity, features, or specific keywords.
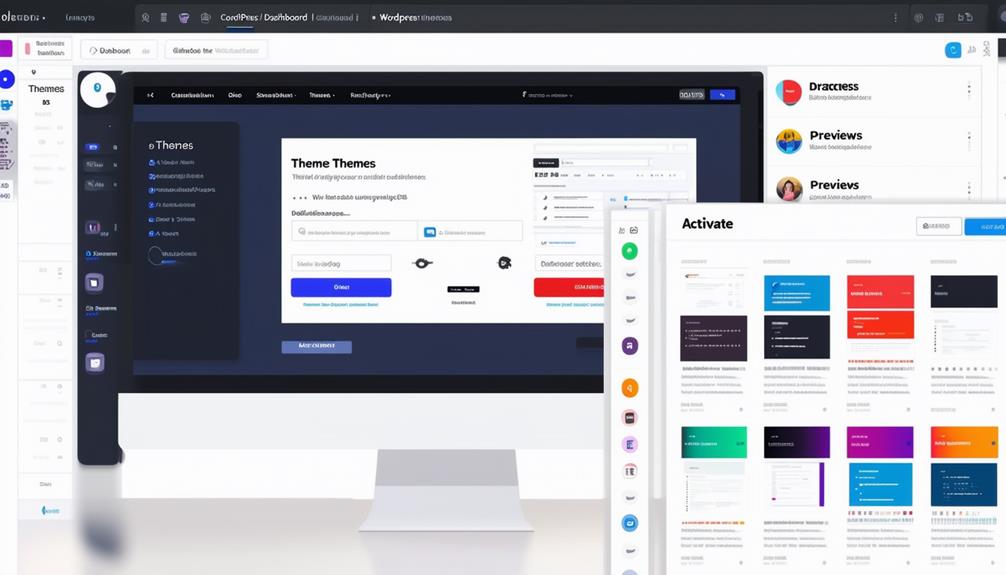
Once you've found the theme you want, hover over it and click the 'Install' button. The theme will download and install automatically. After the installation is complete, click the 'Activate' button to set your new theme live on your site.
Uploading a Theme via WordPress
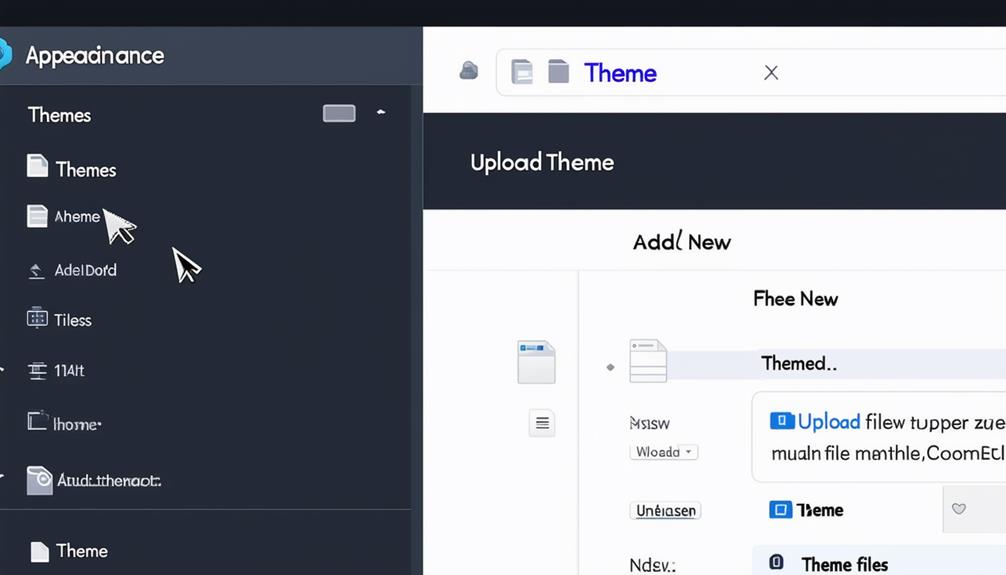
To upload a theme via WordPress, navigate to the 'Appearance' section in your dashboard and click on 'Themes.' At the top, you'll see an 'Add New' button. Click it, followed by the 'Upload Theme' button. If you have a theme file in .zip format, click the 'Choose File' button to select the .zip file from your computer. After selecting the file, click the 'Install Now' button. WordPress will then upload and install the theme.
Once the installation is complete, click the 'Activate' button to make the theme live on your website. This will immediately change your site's appearance to match the new theme. Using this method, you can add custom themes downloaded from external sources. After activation, you may need to customize certain aspects to ensure everything fits perfectly.
Installing a Theme Using FTP
To install a WordPress theme using FTP, first obtain your FTP/SFTP credentials from your hosting provider. These credentials are necessary to access your site's server directories. Download and install FileZilla, a widely-used FTP client, to facilitate the connection between your computer and the server.
After establishing a connection, navigate to your server's wp-content folder. Within this folder, you'll find the Themes directory. This is where you will upload your theme files. Ensure that the theme folder is unzipped on your computer before proceeding. Drag and drop the unzipped theme folder into the Themes directory on your server. This will start the theme installation process.
Once the upload is complete, the theme needs to be activated. To do this, log in to your WordPress dashboard, navigate to Appearance > Themes, and you will see your newly uploaded theme listed there. Select and activate the theme to complete the installation.
Activating and Customizing Your Theme
Initiating your new theme is a crucial step in transforming your website's look and feel. After installing a WordPress theme, activate it to apply the changes to your site. To do this, navigate to the WordPress dashboard, go to Appearance > Themes, and click 'Activate' on your chosen theme. This action will instantly update your site's visual appearance and functionality.
Next, customize your theme to align with your brand. Click on Appearance > Customize to access the customization options. Here, you can adjust colors, fonts, layout, and widgets to create a cohesive and unique look that matches your vision.
For optimal customization, follow your theme's setup instructions. Many themes come with specific guidelines to help you maximize their features. Additionally, consider installing plugins to enhance functionality without altering the core design. Plugins can add various features, from SEO tools to social media integrations, making your site more dynamic and user-friendly.
Conclusion
You've now learned how to install a WordPress theme using different methods. Remember, selecting the right theme is crucial for your site's appearance and functionality. Once installed, don't forget to customize it to align with your brand or style. Whether you choose to install a theme from the WordPress repository, upload it directly, or use FTP, activating and setting up your theme is straightforward. Follow these steps, and your website will look polished and professional in no time! Happy customizing!