How to Setup and Use OptinMonster in WordPress
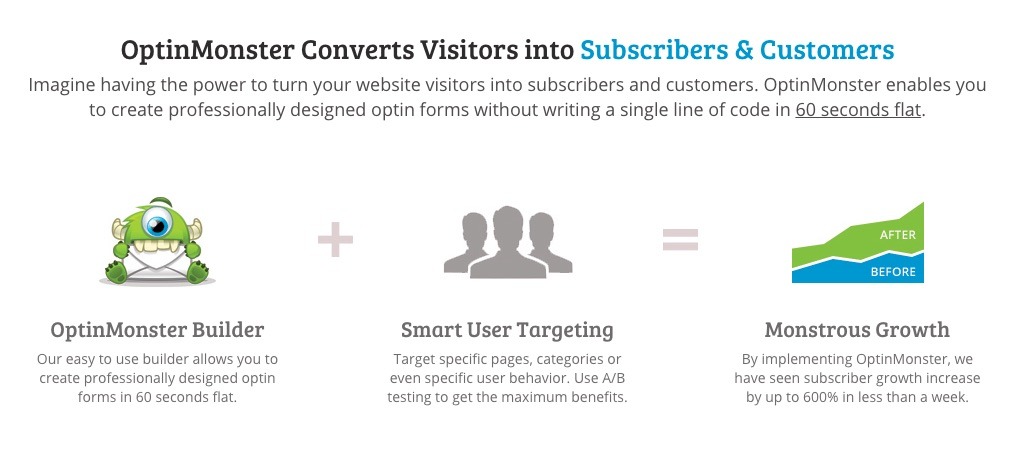
OptinMonster is one of the most popular lead generation plugins for WordPress. This premium plugin could be an excellent tool for building up the mailing list of your WordPress website. In today’s post, I will show you how to use OptinMonster in WordPress.
Getting OptinMonster
As OptinMonster is a premium plugin, you have to purchase it. There are various pricing plans available for the plugin, with the most affordable one being priced at $49. You will find more details in the official pricing plan (http://optinmonster.com/pricing).
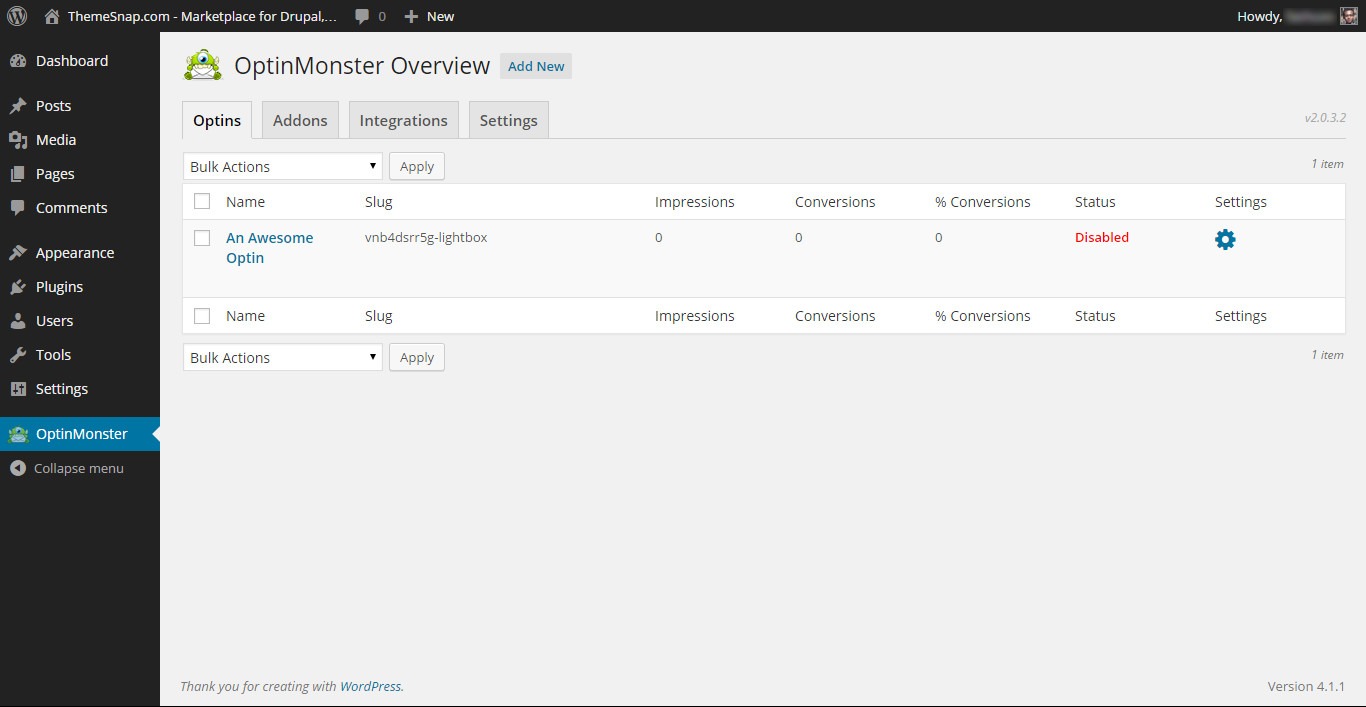
After purchasing the plugin, download it to your computer. Then, once you install and activate the plugin in your website, it will create a new menu titled ‘OptinMonster’ in your website dashboard. Clicking on that menu item will take you to a screen like the following:
Creating New Optin
Click the 'Add New' button to create a new optin. At this point, you will be taken to a page like this:

Provide a title in the 'Optin Campaign Title' field and then, choose a design from the available templates. If you are not sure which one to choose, you may start with the 'Case Study Theme', which is a widely used layout. Selecting the design will take you to another new page.
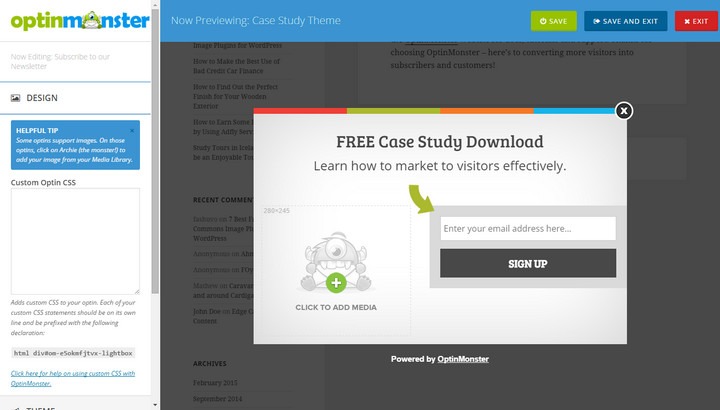
On this page, you will find the live preview of preview of your optin on the right side and the customization options on the left. The customization options are divided into several categories – Design, Theme, Fields, Configuration, Integration and Output.
Customize the Optin
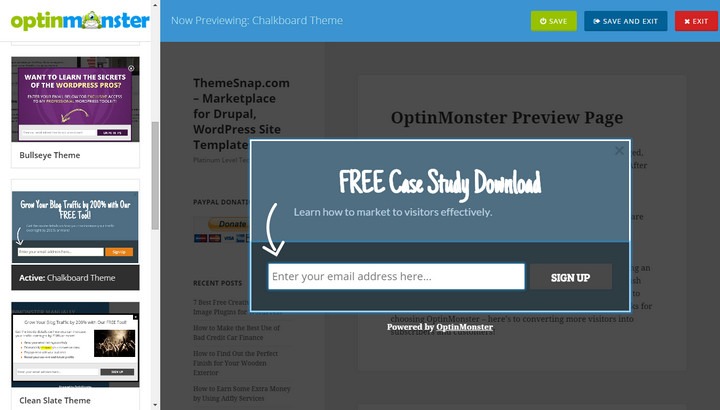
In the 'Design' section, you will be able to provide custom CSS for your optin. The 'Theme' section lets you preview different themes. Before applying the new theme, all the changes to your optin will be saved automatically.
The 'Fields' section will let you customize all the fields of your optin. You can choose to display or hide the name field, while the email and submit fields are necessary. Each of the fields will have these options –Placeholder, Color and Font. In case of buttons, you will have an additional option to choose the button background too.
'Configuration' section handles the basic settings for your optin. First of all, you can provide the optin title, success message, choose the optin loading delay, cookie duration and choose to show the powered by message, load an second pageview, hide the optin for logged in users etc.
In the 'Integration' section, you can choose the email provider where your subscribers will be added. Whatever email provider you are using, you have to authorize it. You will find detailed instructions about the authorization process in OptinMonster’s official documentation page (http://optinmonster.com/docs/connect-optinmonster-aweber/).
You will find more configuration settings in the 'Output' section. Here, you can choose to temporarily disable the optin. In the next few fields, you will find options to display the optin in specific posts, pages, post categories etc.
Once you have made all the necessary changes, click 'Save and Exit' from the top-right section of the page. At this point, you will be redirected to the overview page. Your new optin will be listed on that page.
Other Options
Hovering over your newly created optin will reveal the edit and delete links for that optin. Clicking on the 'Settings' section will reveal a new drop-down menu.
Among the drop-down menu options, 'Modify' will take you to the editing screen for the plugin. 'Split Tests' will let you create modified copies of any optin and keep track of their performances. 'Duplicate' will let you create an exact copy of any optin. The 'Enable Test Mode' option will let you enable test mode for the optin.
After making all the changes, don’t forget to save the optin. If you reload your website now, you should see your option appearing just as you have defined it. However, if you are facing any problem in setting up OptinMonster, let me know. I will be glad to help you.