How to Use WordPress Widgets to Enhance Your Site
Leveraging WordPress widgets can significantly enhance your website by adding functionality and improving user experience without requiring coding skills. Widgets can help you integrate features like contact forms, recent posts, and more. With the introduction of block-based widgets in WordPress 5.8, customization and content management have become more intuitive through the Site Editor. Adjusting visibility settings ensures your content reaches the appropriate audience. Here's how to maximize these versatile tools:
- Explore Widget Options: Familiarize yourself with the available widgets in WordPress, such as text, images, and custom HTML.
- Customize with Block-Based Widgets: Utilize the Site Editor to easily manage and personalize your site's content.
- Set Visibility Rules: Tailor widget visibility to target specific audience segments, enhancing user engagement.
- Test and Optimize: Regularly review and adjust widget settings to ensure optimal performance and relevance.
By following these steps, you can effectively use WordPress widgets to create a more dynamic and user-friendly website.
Understanding WordPress Widgets
WordPress widgets are versatile tools that enable you to enhance your website with additional features and content without requiring any coding expertise. These modular elements improve website functionality by allowing you to easily fill predefined areas like sidebars and footers with useful content and features.
Since their inception, widgets have significantly evolved, offering both default and custom functionalities to make your site more dynamic. Common widget types, such as Recent Posts, Search, and Tag Cloud, enhance navigation and user engagement by displaying relevant site information where users can easily access it.
The unified block widget system, introduced in WordPress 5.8, elevates content management to a new level. It allows you to use the same blocks in widget areas that you use in posts and pages, providing a seamless customization experience. This system enables you to manage your site's content more efficiently and tailor it to your specific needs.
Furthermore, widgets can be customized for visibility conditions, allowing you to display targeted content based on specific pages or user interactions. This feature enhances the user experience by ensuring that visitors see the most relevant information. Understanding these capabilities helps you leverage WordPress widgets to effectively improve your site's functionality and design.
Theme Support for Widgets
When selecting a WordPress theme, it's crucial to understand its widget support. Classic themes typically use widgets for sidebars and footers, whereas modern block themes manage all elements through the Site Editor found under the Appearance menu. This distinction affects how you customize and access widgets on your site.
Classic Vs. Modern Themes
Transitioning from classic to modern WordPress themes can feel like navigating a new landscape of widget management. Classic themes rely heavily on widgets, which you manage through the Appearance → Widgets menu. This menu provides access to widget areas such as sidebars and footers, allowing for straightforward customization.
Modern themes, however, have adopted the block widget system introduced in WordPress 5.8. This new system centralizes all editing within the Appearance → Editor, streamlining the customization process by eliminating the separate widget management interface. While this offers enhanced flexibility in content management, it can be an adjustment for those familiar with the classic setup.
For users who prefer the traditional method, the Classic Widgets plugin is available. This plugin allows you to revert to the classic widget management system, maintaining the familiar Appearance → Widgets menu for ease of use.
Site Editor Customization
Navigating the world of WordPress customization has become more intuitive with the Site Editor, particularly for themes that support block-based widgets. These modern themes have evolved from traditional widgets, offering a more streamlined customization experience. By accessing Appearance → Editor, you can explore the Site Editor and start adding or modifying block-based widgets.
One significant advantage is the ability to make real-time adjustments in widget areas such as footers and sidebars. This feature allows you to see changes instantly without needing coding skills. Block-based widgets provide greater flexibility and diverse design options, enhancing your content management by allowing the use of the same blocks available in posts and pages.
Here's a quick comparison to guide you:
| Feature | Traditional Widgets | Block-Based Widgets |
|---|---|---|
| Access | Appearance → Widgets | Appearance → Editor |
| Customization | Limited | Extensive |
| Real-Time Adjustments | No | Yes |
| Design Options | Basic | Advanced |
| Content Management | Separate | Unified |
Widgets Access Limitations
While the Site Editor offers a seamless experience for customizing block-based widgets, it's essential to understand the limitations regarding theme support for these widgets. Modern block themes in WordPress don't support the traditional widget interface. Instead, you'll need to manage widgets through the Site Editor found under Appearance → Editor. This shift can be a bit of a learning curve if you're accustomed to classic themes, which use traditional widget areas accessible via Appearance → Widgets.
Key Points to Remember:
- Widget Areas: These can include common locations like the sidebar and footer, but some themes offer supplementary areas for more customization.
- Block Inserter Functionality: This allows you to add and manage widgets in modern themes, giving you greater content control compared to classic widgets.
- Theme Documentation: Always check your theme's documentation or settings in the WordPress admin panel to understand the level of widget support provided.
How to Add Widgets
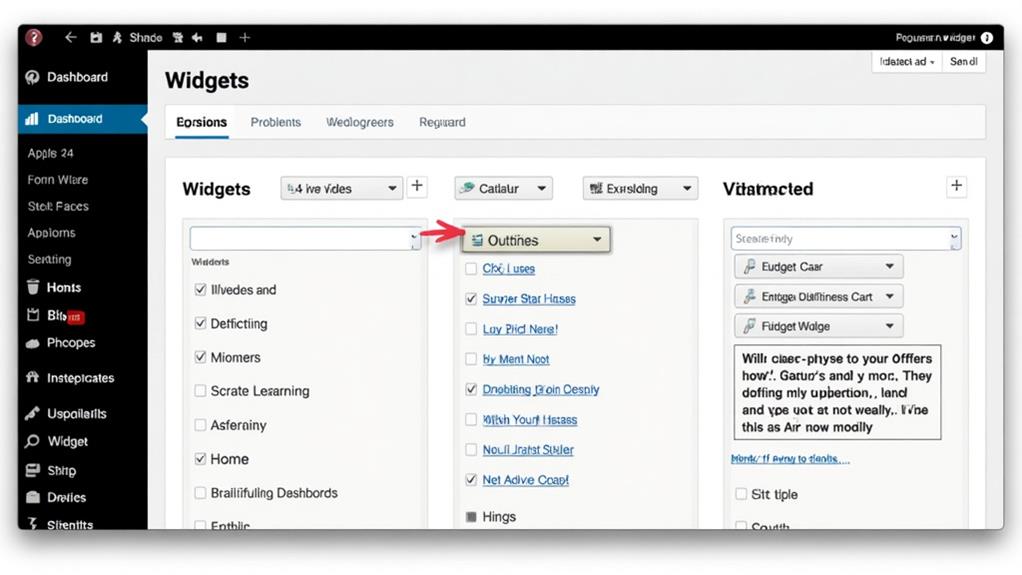
Adding widgets to your WordPress site is a straightforward process that enhances your website's functionality and design. To begin, navigate to the widget management interface by selecting Appearance > Widgets in your WordPress dashboard. Here, you'll see the available widget areas such as the sidebar and footer.
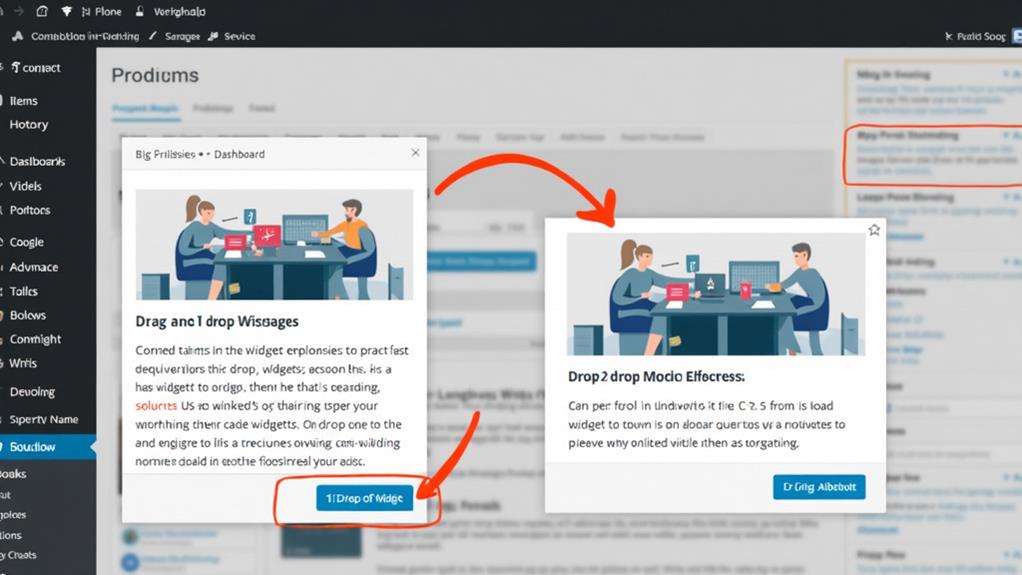
To add a widget, drag it from the list of available widgets into your desired widget area. Alternatively, you can use the + block inserter to select and place a widget, making it easy to integrate various types of content into your site.
Once you've added a widget, you can customize its settings to suit your needs. Click on the widget title to reveal the editing options and make your adjustments. Ensure you save your changes by clicking the Update button. For those using modern block themes, widgets are managed through the Site Editor. This unified approach allows you to edit widget content along with other site elements seamlessly.
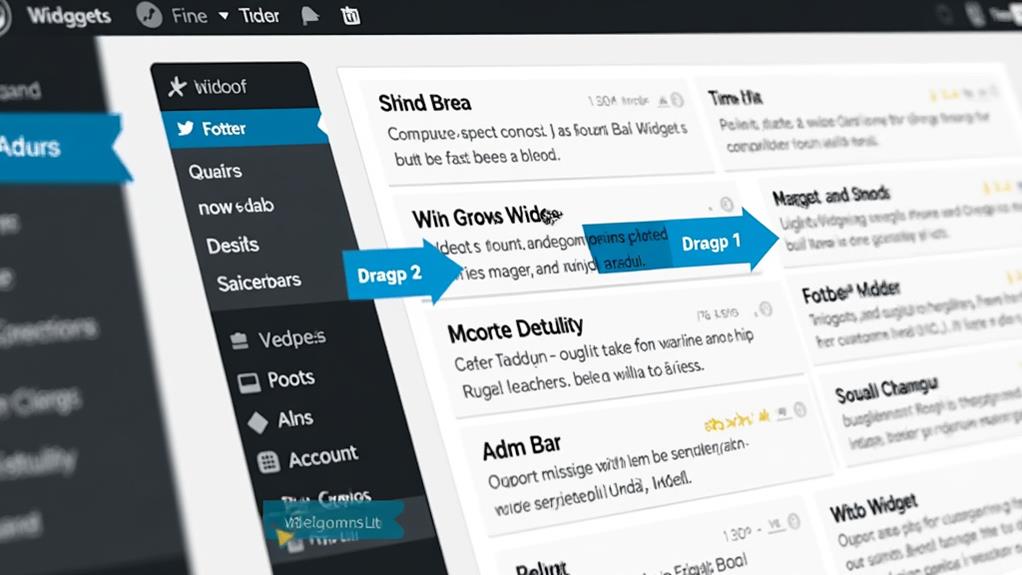
You can also rearrange widgets within a widget area by dragging them to your preferred position or using the reorder options. Adding widgets is a simple yet effective way to enhance your site's design and functionality without the need for additional plugins.
Adjusting Widget Settings
Adjusting widget settings in WordPress is crucial for customizing the functionality and appearance of your widgets to meet your site's specific needs. Start by clicking on the widget block you wish to adjust, which will reveal the toolbar with various customization and visibility options.
For more detailed adjustments, click the Settings icon to open the Block Settings sidebar. Here, you can configure specific features for the widget, including:
- Widget Title: Change the title to accurately describe the widget's purpose.
- Visibility Options: Specify when and where the widget appears on your site.
- Additional Settings: Explore further options by clicking the three dots menu on the toolbar for functions like duplicate, move, and delete.
After making your changes, click the Update button to save your adjustments. This ensures that your modifications are applied and visible on your site. Each widget block can be fine-tuned to match your site's unique requirements, providing a customized user experience.
Moving Widgets Between Areas
To relocate a widget between areas, select the block you wish to move and click the "Move to Widget Area" icon in the block's toolbar. Choose the desired widget area from the list to reposition the widget effectively. Ensure you click the "Update" button to save your changes and make them visible on your site.
Selecting Desired Widget Area
One of the most effective ways to keep your WordPress site organized and engaging is by strategically moving widgets between different areas. To relocate a widget, select the widget block you want to move and click the "Move to widget area" icon (a squiggly arrow) in the toolbar. Then, choose the desired widget area from the available options. This process allows you to organize widget content efficiently without having to delete and recreate blocks.
Using this feature enhances layout flexibility, ensuring that your site remains tidy and user-friendly. By regularly reassessing widget placements, you can boost user engagement by making sure that the most relevant content is easily accessible.
Here are the key benefits of moving widgets between areas:
- Improved Organization: Maintain a clean and logical site layout.
- Increased Flexibility: Easily adapt your site's design as needed.
- Enhanced User Experience: Ensure visitors can quickly find the most relevant content.
Repositioning Widgets Efficiently
Enhancing your WordPress site's organization and user experience often involves repositioning widgets between different areas. Here's a streamlined approach to doing so:
- Select the Widget Block: Highlight the block you want to move by clicking on it.
- Click the Move Icon: In the block toolbar, click the "Move to widget area" icon, represented by a squiggly arrow. This action initiates the widget relocation process.
- Choose the Desired Widget Area: From the available options, select the widget area where you want to relocate the block.
This efficient method allows you to rearrange widget content without the need to delete and recreate widgets, thereby optimizing widget management. The ease of repositioning widgets helps you adapt to changing site needs and layout preferences, enhancing the overall site design.
Modern WordPress themes simplify this process further by enabling seamless widget movements within the Site Editor, offering a unified interface for all site design elements.
Here is a quick reference guide to the steps:
| Step | Action | Result |
|---|---|---|
| 1 | Select the widget block | Block is highlighted |
| 2 | Click the Move icon | Initiates the move |
| 3 | Choose the widget area | Block is relocated |
This method ensures your site remains organized and user-friendly, aligning with your design goals effortlessly.
Controlling Widget Visibility
Mastering widget visibility in WordPress can significantly enhance your site's user experience by delivering relevant content to the right audience at the right time. To control widget visibility, start by accessing the appropriate visibility settings. For legacy widgets, use the Visibility button, while for block widgets, navigate to the Block Settings sidebar.
You can customize visibility rules based on various criteria such as page type, category, tag, date, author, and taxonomy. This allows for targeted content display that caters to specific audiences on designated pages. Here are some scenarios where you might want to adjust visibility:
- Displaying a promotional banner only on your homepage
- Showing category-specific widgets on related posts
- Hiding certain widgets on mobile devices for a cleaner look
For block widgets, select the block and go to the Block Settings sidebar to manage widget appearance. The three dots menu on the block toolbar also offers additional visibility options, making it easier to control when and where your WordPress widgets appear. By effectively utilizing these visibility settings, you can significantly enhance user engagement by presenting relevant content at the right moments.
Widget Areas and Management
Understanding how to control widget visibility is just one aspect of optimizing your WordPress site; knowing where to place these widgets is equally important. Widget areas are designated sections within your theme where you can add widgets, commonly found in sidebars, footers, and headers. Each theme's design determines the available widget areas, but many themes offer multiple areas for flexible placement.
To manage widgets, navigate to the Appearance > Widgets menu in your WordPress dashboard. Here, you can add widgets to your desired areas using simple drag-and-drop functionality. For real-time previews, use the WordPress Customizer, which allows you to see changes as you make them.
You can also create custom widget areas using plugins or custom coding, providing you with more control over your site's layout. If you remove a widget but plan to use it later, the Inactive Widgets area will retain it for future use, saving you the hassle of recreating it.
Benefits of Using Widgets
Widgets offer numerous benefits that can significantly enhance your WordPress site's functionality and user experience. They increase user engagement by providing dynamic content, such as recent posts, comments, and social media feeds. This encourages visitors to explore more areas of your site, thereby boosting overall traffic.
Widgets also improve site navigation by incorporating features like search boxes and category lists, which facilitate quick access to desired information. This enhanced user experience fosters repeat visits. Additionally, widgets offer customizable visibility settings, enabling you to display or hide content based on specific criteria. This ensures that the most relevant information is shown to users, maximizing its effectiveness.
Widgets can also function as powerful marketing tools. For example, you can implement email subscription forms and call-to-action buttons to expand your mailing lists and drive conversions. Moreover, they contribute to a more visually appealing website by organizing content in various areas, making your site appear cleaner and more professional.
- Dynamic content: Recent posts, comments, social media feeds
- Enhanced navigation: Search boxes, category lists
- Marketing tools: Email subscription forms, call-to-action buttons
Useful Widget Plugins

To enhance your WordPress site's functionality and design, the right widget plugins are essential. The SiteOrigin Widgets Bundle is an excellent choice, offering a variety of customizable widgets compatible with both classic and block editors. This bundle enhances site flexibility and design possibilities. For developers and site managers, the Widget Importer & Exporter is a must-have free plugin. It simplifies the process of exporting and importing widgets across multiple sites, making widget management more efficient.
If you need to create custom sidebars with tailored content, Custom Sidebars is the plugin for you. It allows you to set up custom sidebar and widget locations with conditional display rules, ensuring relevant content appears on the appropriate pages or categories.
The WP Widget Factory plugin offers a collection of advanced widgets, including social media feeds, testimonials, and pricing tables, greatly improving site functionality and user engagement. Lastly, the Ultimate Addons for Gutenberg integrates seamlessly with the block editor, providing creative widgets such as infoboxes, testimonials, and countdown timers, perfect for adding visually appealing elements to your site. By utilizing these widget plugins, you can significantly improve your site's functionality and user experience.