Beginner’s Guide to Customizing Your WordPress Theme
Starting your journey to personalize your WordPress theme may seem daunting, but it's more straightforward than you might think. Begin by accessing the Theme Customizer through the Appearance menu, which allows you to adjust your site's identity, colors, and layout in real-time without requiring any coding skills. This makes it ideal for beginners. However, customization doesn't end there. To truly make your website unique, you should explore creating child themes and using plugins for additional functionality. Before diving into these advanced options, it's crucial to understand the basic steps and best practices to avoid potential pitfalls.
Getting Started
To begin customizing your WordPress theme, navigate to the Appearance settings and select the Theme Customizer. This tool allows you to tailor your site's design to match your brand identity and business needs. You'll find various options to adjust your theme's appearance, including colors, fonts, and layout settings.
For a more unique custom theme design, consider using a plugin like SeedProd. This page builder offers intuitive drag-and-drop features, enabling you to design individual pages without writing any code. If you aim to enhance specific areas of your site, you might want to customize individual pages with plugins like WooCommerce or Easy Digital Downloads (EDD) blocks. These plugins can significantly elevate your online store's look and functionality.
For advanced customization, using a child theme is recommended. This ensures that any changes you make will not be lost when the main theme is updated. Additionally, WordPress offers full-site editing and dynamic blocks, providing you with comprehensive control over your theme design. These tools enable you to personalize every aspect of your site—from the header to the footer—resulting in a cohesive and professional appearance.
Using the Theme Customizer
To start using the Theme Customizer, navigate to the Appearance menu in your WordPress dashboard. There, you can modify your site identity, including the title and tagline, and adjust color schemes. The live preview feature allows you to see these changes instantly before publishing.
Accessing Theme Customizer
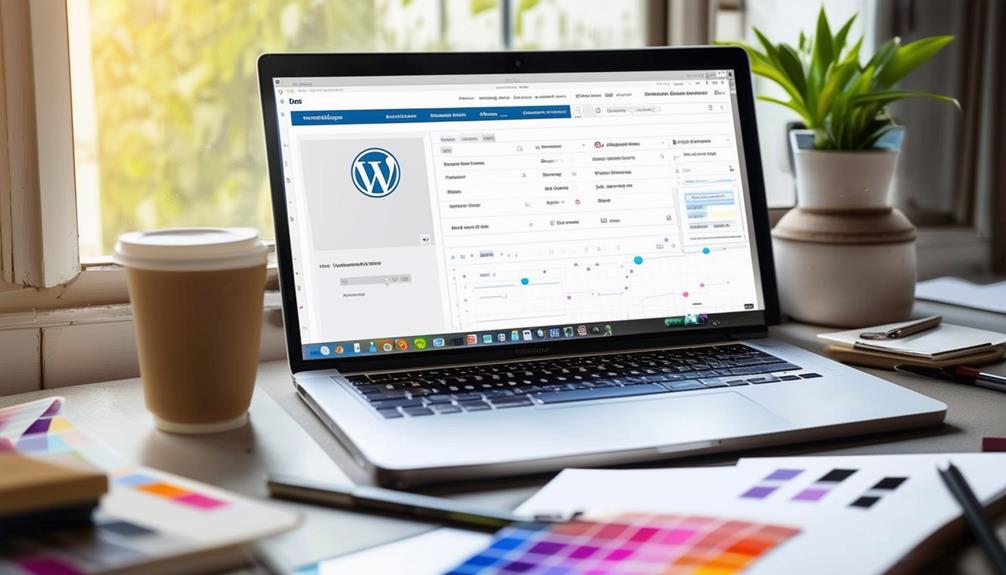
To access the WordPress Theme Customizer, navigate to your WordPress dashboard, click on 'Appearance,' and select 'Customize.' This intuitive tool allows you to make real-time adjustments to your website's appearance without requiring any coding knowledge. Whether you want to modify colors, fonts, or the general layout, the WordPress Theme Customizer provides a straightforward way to tailor your website to your preferences.
With the Theme Customizer, you can preview changes instantly before applying them. This ensures that your updates won't disrupt the user experience. Depending on the theme you're using, you'll have access to various customization options, such as header images, background colors, and widget placements. This flexibility enables you to align your site's look and feel with your brand identity.
Additionally, the Theme Customizer offers a convenient method to add new features or adjust existing ones without needing to delve into complex code. It is an efficient way to personalize your WordPress site while maintaining a polished, professional appearance. By leveraging these tools, you can maximize your theme's potential and ensure your website remains engaging and visually appealing.
Changing Site Identity
Easily update your site's title, tagline, and logo by accessing the Site Identity section within the Theme Customizer in WordPress. Begin by navigating to Appearance > Customize in your WordPress admin dashboard. Once inside the Theme Customizer, select the Site Identity section. Here, you can effortlessly change your site's title, tagline, and logo to better reflect your brand.
Want to personalize your site even further? You can also customize the header image, background color, and site icon (favicon) within the same section. The Theme Customizer allows you to preview these changes in real-time, enabling you to see exactly how your site will look before making any commitments. This feature is incredibly user-friendly and requires no coding knowledge, making it accessible to beginners.
Customizing Color Schemes
Within the WordPress Theme Customizer, you can effortlessly update your site's color schemes to align with your brand's aesthetic. This versatile tool allows you to customize WordPress themes by choosing from a range of pre-defined color palettes or creating your custom colors. Whether you're aligning the site with your brand colors or aiming for a cohesive visual identity, the Theme Customizer provides the flexibility you need.
To get started, navigate to the Theme Customizer from your WordPress dashboard. Here, you'll find options to adjust text colors, background colors, link colors, and more. The changes you make are instantly visible in the live preview, allowing you to experiment with different combinations until you find the perfect look.
Using pre-defined color palettes can save time and ensure a harmonious design. However, if you have specific brand colors, you can easily input your custom colors to ensure your website looks professional and remains consistent with your branding.
Creating a Child Theme

Creating a child theme involves setting up essential files, such as a style.css file that references your parent theme. Once you have the basic structure in place, you can modify styles and add custom functions to personalize the appearance and functionality of your site. This method ensures that your customizations remain intact even after the parent theme is updated.
Setting Up Files
To safely customize your WordPress site, you should set up a child theme. This process involves creating a new directory in the themes folder with a unique name, ensuring the child theme inherits styles and functionalities from the parent theme. Begin by navigating to the wp-content/themes directory and creating a new folder for your child theme. Choose a unique name that distinguishes it from other themes.
Next, create a style.css file within this folder. This file should include specific information such as the theme name and template. Here is a basic template to get you started:
```css
/*
Theme Name: Your Child Theme Name
Template: parent-theme-folder-name
*/
```
This setup ensures your child theme is linked to its parent theme, allowing it to inherit styles and functionalities. One significant advantage of using a child theme is that any changes you make will not be overwritten during parent theme updates. This practice preserves your customizations and prevents conflicts. By utilizing a child theme, you ensure a smoother and safer customization process for your WordPress site.
Modifying Theme Styles
After establishing your child theme, the next step is to modify its styles to customize the appearance of your WordPress site. Creating a child theme allows you to make style changes without impacting the original theme, ensuring that updates to the parent theme won't overwrite your customizations.
Child themes inherit the functionality of the parent theme, enabling comprehensive personalization. When adjusting theme styles in a child theme, you'll primarily work with CSS, but you can also modify template files and PHP files if necessary. This versatility allows you to achieve the precise look and feel you want for your site.
Here's a quick emotional guide to customizing your site:
| Action | Emotion Evoked | Reason |
|---|---|---|
| Customizing CSS | Excitement | Instantly see visual changes to your site. |
| Editing Template Files | Empowerment | Gain control over the layout and structure. |
| Updating PHP Files | Confidence | Enhance functionality with tailored coding. |
Adding Custom Functions
Adding custom functions to your child theme is essential for achieving unique functionality on your WordPress site. A child theme allows you to make customizations without altering the original theme files, thus preserving your changes during theme updates. This ensures your custom code remains intact even when the parent theme is updated.
To create a child theme, start by making a new directory in your themes folder. Inside this new directory, you'll need to add a stylesheet with specific information, including the template name of the parent theme. This stylesheet is the foundation of your child theme, ensuring it inherits the functionality of the parent theme while allowing you to add your custom code.
Child themes are indispensable for advanced customization. They help maintain a clean and organized theme structure, making it easier to manage and update your customizations. By using a child theme, you can experiment with new features and designs without the risk of losing your work, ensuring a seamless and efficient development process. This way, you keep your site both functional and up to date.
Editing Theme Code
Editing theme code opens up advanced customization options for your WordPress site's design and functionality. By using the theme editor, you can directly modify theme files with HTML, CSS, and PHP, allowing for detailed control over your website's appearance and behavior beyond standard theme settings.
To begin editing theme code, navigate to the theme editor under the Appearance menu in your WordPress dashboard. Here, you can access and modify different theme files. However, it's crucial to create a child theme before making any changes. A child theme ensures that your customizations are preserved during theme updates, safeguarding your efforts.
When editing theme code, a basic understanding of HTML, CSS, and PHP is necessary. HTML structures your content, CSS styles it, and PHP adds dynamic functionality. These changes directly impact your website's look and functionality. For example, you can adjust the layout, apply custom styles, or introduce new features.
Utilizing Page Builders

Editing theme code offers deep customization, but utilizing page builders like Elementor and Divi provides a more user-friendly approach for designing your WordPress site. These tools enable you to customize a theme using a simple drag-and-drop interface, making it accessible even for those without coding skills. You can easily adjust layouts, change colors, and tweak font selections to match your brand's unique style.
Page builders also facilitate seamless widget placements, allowing you to add various elements to your site effortlessly. A standout feature is the ability to create responsive designs, ensuring your site looks great on all devices and screen sizes. This is crucial for maintaining a professional appearance and user experience across different platforms.
Furthermore, you can utilize pre-designed templates to expedite the design process. These templates are customizable, giving you the creative control to adapt them according to your specific needs and preferences. Whether you want to add modules or elements, page builders provide the flexibility to enhance both the functionality and visual appeal of your website. This way, you can achieve a polished, professional look that truly represents your brand.
Enhancing Functionality
To optimize your WordPress theme effectively, begin by integrating essential plugins that enhance your site's functionality. For e-commerce capabilities, WooCommerce is the go-to plugin, offering smooth and secure transactions.
Next, focus on improving your site's visibility through SEO. Utilize plugins like Yoast SEO to optimize your content, making it easier for search engines to index your pages. This not only improves your ranking but also attracts more visitors.
Security is equally important. Protect your site from hacks and malware by installing robust security plugins such as Wordfence and Sucuri. Ensure that all plugins are regularly updated to maintain compatibility with your WordPress theme and to avoid potential security risks and functionality issues.
Enhance the user experience by adding features that improve navigation, speed, and interaction. Numerous WordPress plugins are specifically designed for these purposes, making your site more engaging for visitors.
Best Practices
Before diving into theme customizations, always back up your website to prevent data loss. This precaution ensures you can restore your site if issues arise during the customization process. Once you have a backup, it's advisable to use a staging site to test theme customizations before applying them to your live website. This approach helps identify potential errors in a controlled environment.
For effective theme customization:
- Use child themes: Child themes allow you to make changes without affecting the original theme. This ensures your customizations stay intact even after theme updates.
- Avoid direct editing: Directly editing theme files on your live site can cause errors and downtime. Instead, make changes on your staging site first.
- Leverage user-friendly tools: For non-developers, many plugins and tools facilitate theme customization without requiring coding skills.
Conclusion
You've got all the tools you need to make your WordPress theme truly yours. Dive into the Theme Customizer, create a child theme to protect your changes, and feel free to tweak the code if you're comfortable. Utilize page builders and plugins to enhance your site's functionality. Always remember to back up your website and test changes on a staging site. With these steps, you're well on your way to crafting a stunning, personalized WordPress site. Happy customizing!