Creating and Managing WordPress Menus for Better Navigation
Enhancing your website's user experience involves creating and managing WordPress menus effectively. By accessing the Menu Editor, you can easily add, organize, and customize items such as pages, categories, and custom links. This deliberate structuring not only improves navigation but also ensures visitors can find what they're looking for effortlessly. Wondering how to make your menus more user-friendly and keep them updated with ease? Let's explore some practical steps and advanced tips to elevate your site's navigation to the next level.
Understanding WordPress Menus
To effectively manage your WordPress website, it's essential to understand how WordPress menus function and how they can be customized. WordPress menus play a crucial role in organizing your site's navigation, ensuring visitors can easily find what they're looking for. When you create a new menu, you're essentially constructing a roadmap for your site's users, linking them to vital pages, categories, blog posts, and even custom links.
Different WordPress themes offer various menu locations, such as primary, secondary, footer, and mobile menus. Recognizing which menu locations your theme supports will help you manage menus in WordPress more efficiently. You can tailor each menu to suit specific sections of your site or different audiences.
Customization extends beyond linking content; it also involves the appearance of your menus. You can adjust the styling, make menus sticky so they remain visible as users scroll, and seek theme support for any additional modifications. This ensures that your menus not only function well but also align with your website's aesthetic.
Understanding these fundamentals allows you to create a seamless navigation experience, making your website more user-friendly and efficient. With these basics in place, you're well on your way to mastering WordPress menus.
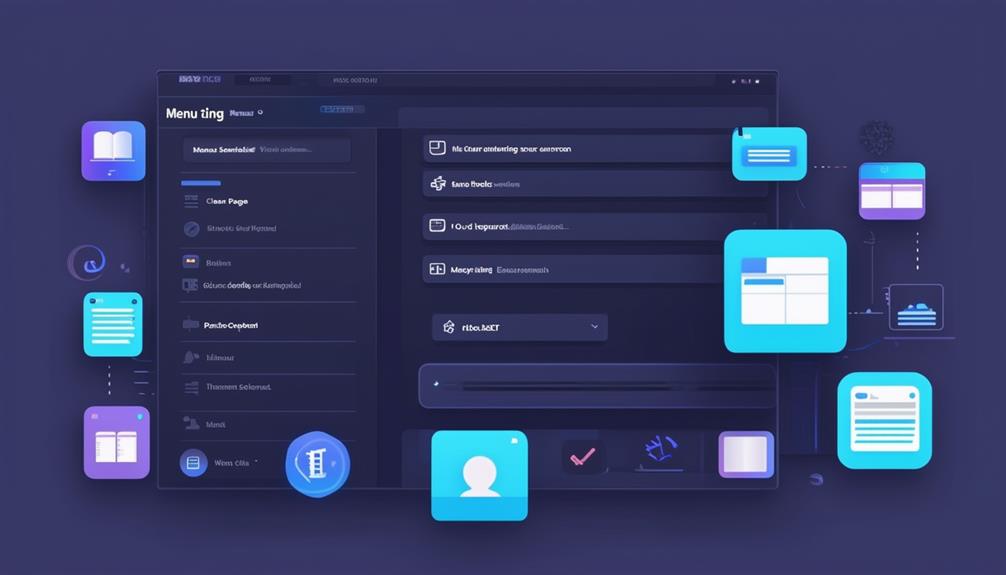
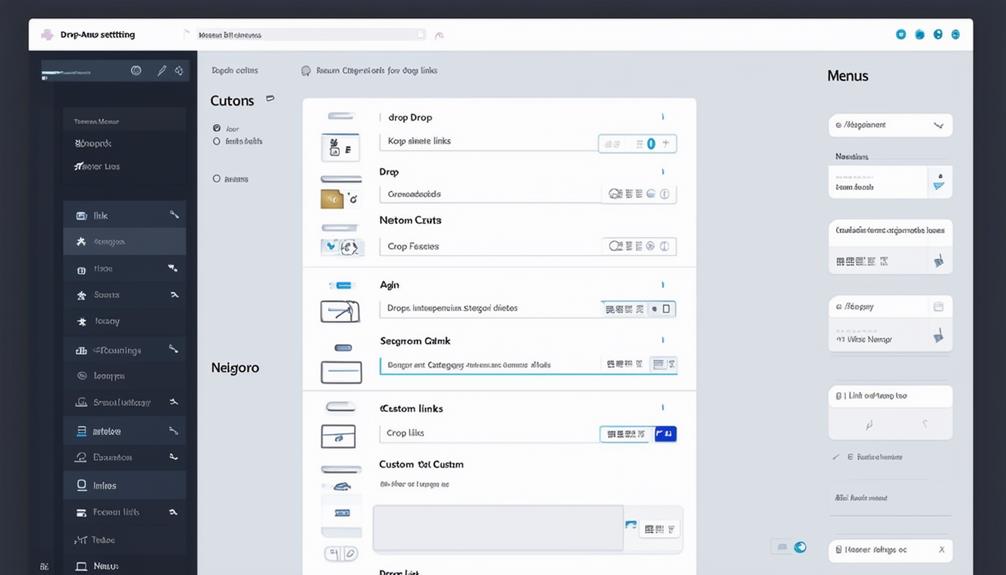
Accessing the Menu Editor
To access the Menu Editor in your WordPress dashboard, navigate to the Appearance section. Here, you can add new menu items, such as pages, categories, and custom links. You can also organize your menu structure using the Navigation block for easy adjustments.
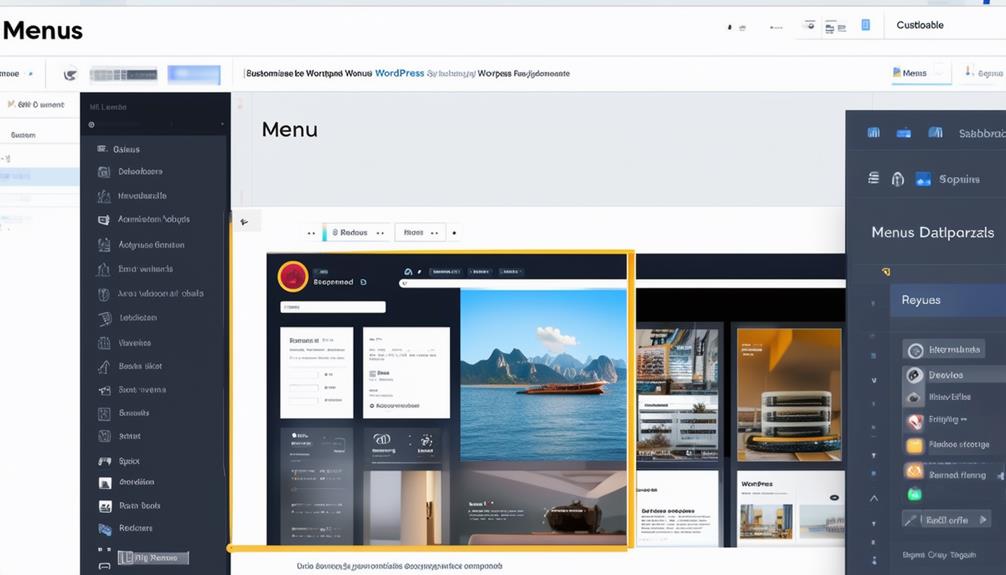
Navigating to Menu Settings
Navigate to the Appearance section in your WordPress dashboard to access the Menu Editor. If you don't see the Editor under Appearance, try selecting the Menus or Customize option to reach the Menu settings. The Menu Editor is essential for managing your site's navigation. Here, you can add, remove, and rearrange menu items to enhance the user experience. While the process may vary slightly depending on your theme, the core functionalities remain the same. Additionally, WordPress offers the Navigation block within the block editor, which provides a flexible way to create or adjust menus. This feature allows for further customization to suit your site's specific needs.
Adding New Menu Items
Enhancing your site's navigation is crucial for user experience and SEO. The WordPress Menu Editor, accessible under the Appearance section in your dashboard, offers robust tools for customizing your site's menu. Follow these steps to add new menu items:
- Access the Menu Editor: Navigate to the Appearance section and click on Menus. This interface allows you to manage your site's navigation structure seamlessly.
- Add New Menu Items: Within the Menu Editor, you have options to add custom links, pages, posts, categories, and more. Select the items you want to include and click 'Add to Menu.'
- Leverage the Navigation Block: For advanced customization, use the Navigation block. This feature lets you add new menu items and adjust your site's navigation to meet specific needs.
Regularly updating your site's navigation ensures visitors can easily find the content they're looking for, enhancing user-friendliness and SEO. The Navigation block offers additional customization options, making your navigation more intuitive and engaging.
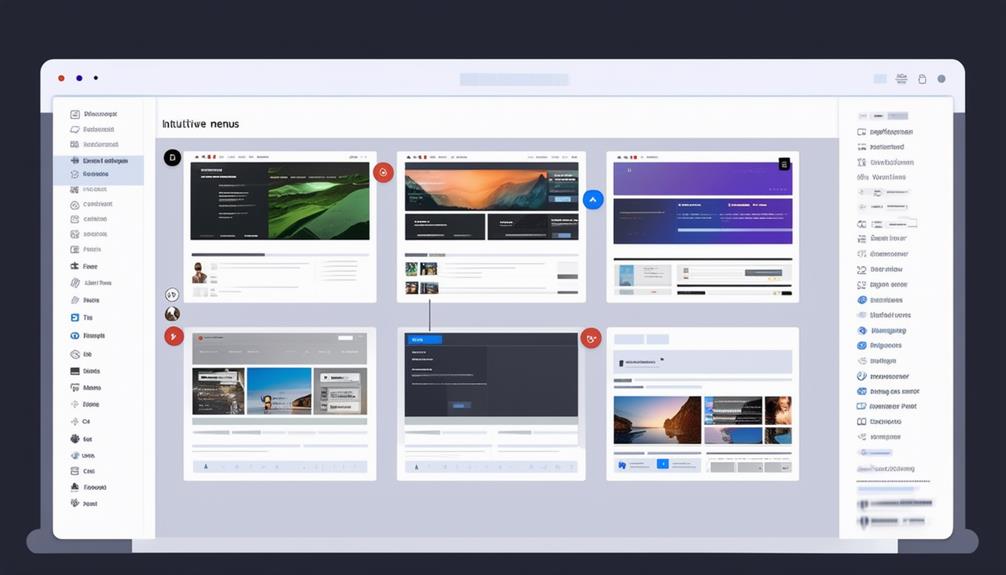
Organizing Menu Structure
To effectively organize your WordPress menu structure, start by accessing the Menu Editor. Navigate to the Appearance section in your dashboard and select Menus. Here, you can create a new menu or modify an existing one using the Navigation block. The Menu Editor is user-friendly, allowing you to drag and drop items for seamless editing.
Aim for clarity and simplicity in your menu structure. Use concise headings for main menu items and avoid overloading the menu with too many options to prevent overwhelming visitors. Utilize submenus to categorize and organize related items, enhancing navigation and making it easier for users to find what they're looking for.
If your theme supports additional customization, the Appearance -> Editor option may also be useful. A well-organized menu structure ensures a smoother, more intuitive user experience. Effective menu editing involves not just adding new items but also arranging them logically for your audience.
Creating a New Menu

To create a new menu, begin by selecting the items you want to include, such as pages or custom links. Then, arrange these items to reflect the desired structure and hierarchy. Finally, save and activate the menu to enhance your website's navigation.
Selecting Menu Items
To create a new menu in WordPress, navigate to the Appearance section in your dashboard and select 'Menus.' Click the 'Create a New Menu' button, name your menu, and choose a display location.
To add items to your menu:
- Add pages: Select the checkboxes next to the pages you want to include, such as Home, About, and Contact, and click 'Add to Menu.'
- Add categories: If you have a blog, you can add categories to help visitors easily find different content areas.
- Add links: Use the 'Custom Links' option to add external URLs, social media profiles, or specific posts not listed in your pages or categories.
After adding your items, click 'Save Menu' to finalize. This ensures your new menu items will appear on your site, improving navigation and user experience.
Arranging Menu Structure
Creating an intuitive menu structure is essential for a user-friendly navigation experience. After naming your new menu and selecting its location, you can add items such as pages, categories, or custom links. These elements will constitute the core of your site's navigation.
To arrange your menu, use the drag-and-drop functionality in WordPress. Click and hold an item, then drag it to your desired position. This allows you to prioritize important pages or categories, like Home, About, and Contact, by placing them at the top for easy access.
For parent and child pages, you can nest child items by dragging them slightly to the right under their parent item. This creates a drop-down menu, maintaining a clean and organized appearance.
Saving and Activating
Creating a new menu in WordPress starts by navigating to Appearance -> Menus in your dashboard. Once there, click on 'Create a new menu' and give it a descriptive name for easy identification. After naming your menu, you need to assign it to a location provided by your theme. Typically, WordPress themes offer several locations such as primary, secondary, footer, or mobile menu.
To proceed, follow these steps:
- Assign Menu Location: Select the desired location for your menu by checking the corresponding box under 'Menu Settings.'
- Add Menu Items: Add pages, posts, categories, or custom links to your menu by selecting them from the left-hand panel and clicking 'Add to Menu.'
- Save and Activate Menu: Click the 'Save Menu' button to save your changes. This will activate the menu on your site, enabling visitors to navigate through the listed links easily.
Before finalizing, use the Live Preview feature to ensure your new menu looks as intended on your website. Once you are satisfied, the menu will be activated and fully functional, enhancing your site's navigation.
Adding Links to Menus
To add links to your WordPress menus, start by navigating to the Menus section in your WordPress dashboard. Within this interface, you can easily add various types of content such as pages, posts, categories, and custom URLs to your menu.
For example, to link to a specific page, simply check the box next to the page title and click 'Add to Menu.' The same process applies for posts and categories, enabling users to find your content more efficiently.
Custom URLs offer additional flexibility, allowing you to link to external websites or create anchor links within the same page. Just enter the URL and a label for your menu item, and you're all set.
This straightforward approach ensures that your website's navigation is both versatile and user-friendly.
Organizing Menu Items
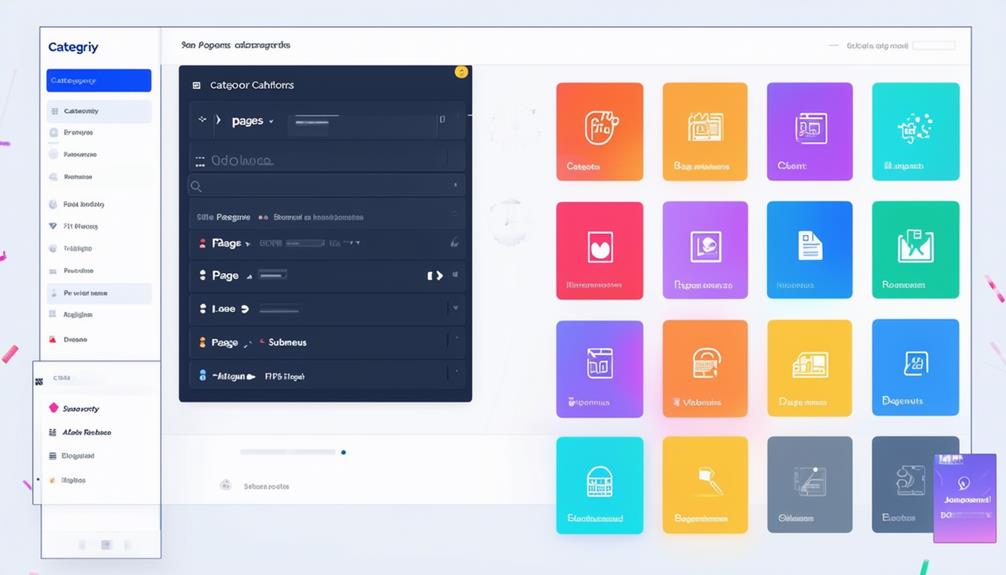
When organizing menu items, group related pages to create a logical flow. Place key pages at the top for easy access, and use submenus to keep the main menu tidy. This approach ensures efficient and user-friendly navigation.
Grouping Related Content
Organizing related content in your WordPress menus enhances user experience by making your site more navigable and engaging. Here are some effective tips to structure your menu items:
- Utilize Dropdown Menus: Dropdown menus allow for hierarchical grouping of related content, enabling visitors to explore different sections of your site without feeling overwhelmed. For example, under a main category like 'Services,' you could include submenus such as 'Consulting,' 'Development,' and 'Design.'
- Categorize by Topic or Service: Grouping menu items based on specific topics or services helps users quickly find the information they need. For instance, a blog can have categories like 'Technology,' 'Health,' and 'Lifestyle,' making it easier for readers to locate content that interests them.
- Minimize Clutter: A well-organized menu reduces visual clutter and enhances usability. Avoid overcrowding the main menu by grouping related items, thereby maintaining a clean and intuitive navigation structure. This encourages visitors to explore more of your site's content.
Prioritizing Key Pages
Ensuring that essential pages like Home, About, Services, and Contact are easily accessible in your main menu is crucial for enhancing user navigation. By prioritizing these key pages, visitors can quickly find the information they need, significantly improving their overall experience on your site.
Start by placing the most critical menu items at the beginning of your main menu. This strategy not only highlights the key pages but also helps in directing users through your site efficiently. To avoid overwhelming your visitors, limit the number of menu items. Overcrowded menus can confuse users and make navigation more cumbersome.
If your site contains a lot of content, consider using submenus to categorize related pages or services. Submenus can streamline your main menu and keep it organized. For example, under the Services menu item, you might include submenus for different types of services you offer. This approach keeps your main menu clean and makes it easier for users to find specific information.
Lastly, ensure that your menu headings are concise and clear. Clear headings help users quickly identify what they're looking for without unnecessary confusion. By prioritizing key pages and organizing your menu items effectively, you can create a more user-friendly navigation system.
Creating Drop-Down Menus
Enhance your WordPress site's navigation with drop-down menus to improve user experience and content organization. Drop-down menus allow you to nest submenu items under main menu items for a streamlined and structured navigation bar.
Follow these steps to create drop-down menus using the WordPress Menu Editor:
- Access the Menu Editor: In your WordPress dashboard, go to 'Appearance' and select 'Menus.' This is where you'll manage your menus and submenus.
- Add Submenu Items: In the Menu Editor, add the pages, categories, or custom links you want as submenu items. Drag these items beneath your chosen parent menu item and slightly indent them to designate them as sub-items.
- Save and Preview: After arranging your menu, click 'Save Menu.' Visit your site and hover over or click on the parent menu items to reveal your new drop-down submenu items.
Customizing Menu Design
Customizing your WordPress menu design involves adjusting typography, colors, and spacing to create a cohesive and visually appealing look. Start by using the Navigation Label field to modify menu items for clarity. This ensures that your menu items are easily understood by visitors. Adjusting typography and colors can significantly enhance the readability and aesthetics of your menu, making it more engaging and aligned with your site's overall design.
Creating a submenu helps organize your content more efficiently. By nesting related items under a primary menu heading, you can streamline your site's navigation, making it more user-friendly. This structured approach improves the user experience and prevents your menu from appearing cluttered.
You can preview your changes in real-time to assess their impact on the overall appearance. This allows for immediate adjustments, ensuring your design choices are effective. Once satisfied with your customizations, navigate to the Menu Settings section to save your changes. This step is crucial to ensure all design efforts are applied correctly, providing visitors with a seamless navigation experience.
Using Social Links Menus
Adding social links menus to your WordPress site makes it easy for visitors to connect with your social media profiles, enhancing engagement and online presence. By incorporating social media icons into your navigation menus, you provide a streamlined way for users to find and follow your accounts on platforms like Facebook, Twitter, Instagram, and LinkedIn. These menus typically appear in the header or footer, offering easy access regardless of where your visitors are on your site.
Here's how to set up your Social Links Menu:
- Create a New Menu: Go to your WordPress dashboard, navigate to 'Appearance' > 'Menus', and click on 'Create a new menu.' Name it 'Social Links.'
- Add Custom Links: In the 'Add menu items' section, click on 'Custom Links.' Enter the URL of your social media profile and the name of the platform (e.g., 'Facebook'), and click 'Add to Menu.'
- Display Social Media Icons: Once you've added all your custom links, assign the menu to the 'Social Links Menu' location. Many themes will automatically convert these links into social media icons.
Advanced Menu Settings
Diving into advanced menu settings in WordPress can significantly enhance your site's navigation and user experience. By customizing menu behavior, appearance, and functionality, you can create a more engaging and interactive site. These settings allow you to control animations, effects, and transitions, making your menus both functional and visually appealing.
A key feature of advanced menu settings is the ability to add custom links. This enables you to direct users to specific pages, external websites, or downloadable content directly from your navigation menu. Custom links can effectively guide visitors to desired destinations on your site.
Moreover, advanced settings ensure your menus are mobile-responsive, providing a seamless experience across all devices. Enhanced accessibility features make it easier for users with disabilities to navigate your site, promoting inclusivity. By tailoring your menus to user preferences, you offer a smoother and more personalized browsing experience. Exploring advanced menu settings can transform your site's navigation, making it more intuitive and user-friendly, thereby keeping visitors engaged and encouraging return visits.
Deleting Menu Items
After mastering advanced menu settings, you might find it necessary to delete outdated or redundant menu items. Removing these items helps maintain a clean and navigable WordPress site. Here's how you can easily remove unwanted menu items:
- Navigate to the Menus Section: Go to your WordPress dashboard and click on `Appearance` -> `Menus`. This will open the menu editor where you can manage your menu items.
- Locate the Menu Item: Find the specific menu item you want to delete by scrolling through the list of all your menu items within the editor.
- Delete the Menu Item: Click on the downward arrow next to the menu item to expand its options. You'll see a `Remove` button. Click this to eliminate the menu item from the list. Remember to save your changes to permanently remove the item from your WordPress menu.
Conclusion
Mastering WordPress menus can significantly enhance your site's navigation and user experience. Regular updates and optimizations keep your menus user-friendly and efficient. Using the Menu Editor, you can easily add, organize, and customize menu items. Additionally, leveraging advanced settings and incorporating social links can make your menus more dynamic. A well-structured menu ensures visitors enjoy a seamless and engaging browsing experience.