How to Change Your WordPress Theme Without Losing Content
When you decide it's time to change your WordPress theme, ensuring you don't lose any content is crucial. Start with a thorough backup of your site using reliable plugins like UpdraftPlus. But that's just the beginning. To prepare for a smooth transition, save any custom codes and activate maintenance mode. Wondering how to install and test the new theme without affecting your live site? Follow these steps to ensure your content remains intact and your site continues to function smoothly.
Signs You Need a New Theme
How do you know it's time to change your WordPress theme? If your site suffers from slow loading times, an outdated design, or poor mobile responsiveness, it's a clear indicator that a new theme is necessary. A fresh theme not only revitalizes your website's appearance to align with your branding but also enhances the user experience.
Updating to a new theme allows you to leverage the latest WordPress features and updates, resulting in improved functionality and a more robust site. New themes often come with optimized code and enhancements that can positively impact your Google SEO ranking, thereby increasing your site's visibility in search results.
Additionally, older themes may not meet current ADA (Americans with Disabilities Act) or WCAG (Web Content Accessibility Guidelines) accessibility standards. A new theme designed with accessibility in mind ensures that all users, regardless of their abilities, can navigate your site effectively. Adhering to these standards is not only a legal obligation but also an ethical one, broadening your audience and fostering inclusivity.
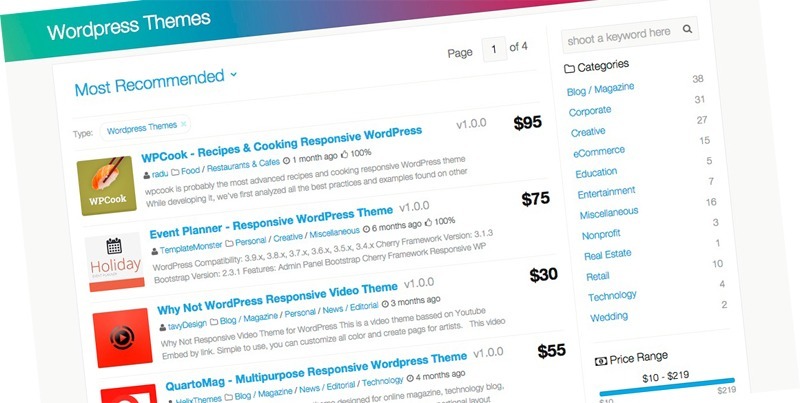
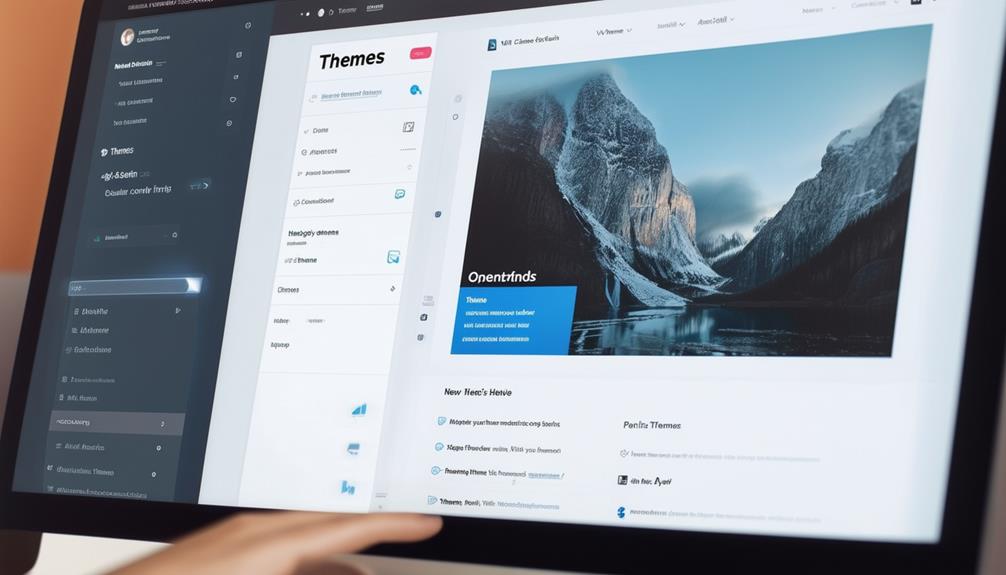
Choosing the Right Theme
Choosing the appropriate WordPress theme is crucial for aligning your site's design with your brand and ensuring seamless functionality. Start by considering design elements, layout options, and customization features that match your site's branding and content needs. Modern design techniques and flexible layout options will allow you to customize your site effortlessly, creating a visually appealing and functional user experience.
Select themes that have positive user reviews and are actively maintained. This ensures you choose a reliable option with ongoing support, making it easier to address any issues that arise. Compatibility with your existing plugins, widgets, and custom code is essential to prevent data loss during the switch. Before finalizing your decision, verify that the new theme works harmoniously with your current setup.
Evaluate the theme's responsiveness, SEO optimization, and adherence to accessibility standards. A responsive theme ensures your site looks great on all devices, while SEO-optimized themes help maintain or improve your site's visibility. Adhering to accessibility standards ensures your content is available to a broader audience, including those with disabilities.
Preparing for the Theme Change
Once you've selected the perfect theme, thorough preparation is essential to ensure a smooth and successful transition. Begin by creating a comprehensive backup of your WordPress website. This step is crucial for safeguarding your content and settings, allowing you to restore everything if any issues arise.
Next, save any custom code snippets and CSS modifications. These customizations often don't transfer automatically to a new theme, so having them saved separately ensures you can reapply them easily. This is particularly important for maintaining the look and functionality you have developed.
Additionally, preserve tracking codes such as Google Analytics. These codes are vital for uninterrupted data tracking and should be transferred to your new theme. They are typically found in your theme's header or footer files, so be sure to copy them before proceeding with the change.
Furthermore, consider testing your website's load time with the current theme. This provides a performance benchmark to compare with once the new theme is installed. Using a staging site to test the new theme is also advisable, as it allows you to experiment without affecting your live site.
Backing Up Your Website
Backing up your website is crucial for safeguarding your content and data before switching themes. A reliable backup of your WordPress site can prevent potential issues during the transition. Here's a concise guide to effectively back up your site:
- Use a Backup Plugin: Plugins such as UpdraftPlus or BackupBuddy are ideal for creating automatic backups. They are user-friendly and allow you to schedule regular backups, ensuring consistent data protection.
- Manual Backup: For larger sites, manual backups may be necessary. This involves exporting your database and files via FTP to ensure comprehensive data preservation.
- Save Custom Code: If you have added custom code snippets, tracking information, or customized widget data, back them up separately. This ensures you can restore these elements after changing themes.
- Verify Your Backup: Always validate that your backup is complete and accessible. Test restoring the backup to confirm it functions correctly.
Taking these steps ensures you can easily revert to a previous state if needed, making the process of changing themes much smoother and safer.
Activating Maintenance Mode
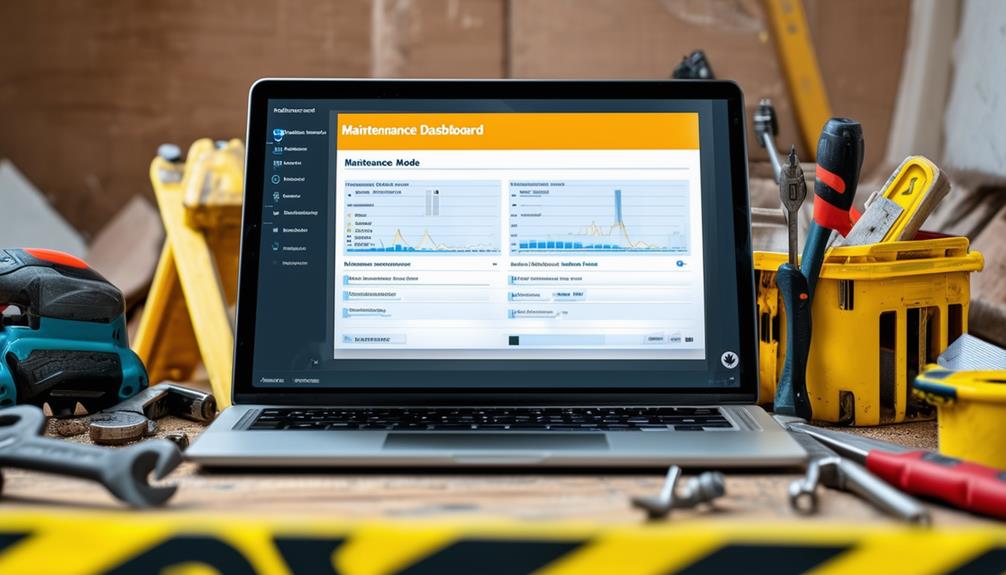
After backing up your website, it is crucial to activate maintenance mode to keep your site hidden from visitors while you make updates. This step ensures that your audience doesn't encounter any broken elements or incomplete designs during the transition. Presenting a polished, fully functional site is essential, and maintenance mode helps you achieve this.
To enable maintenance mode, you can use plugins like 'WP Maintenance Mode' or explore built-in options within your current theme. These tools display a temporary 'Under Maintenance' page, informing visitors that your site is being updated and will be back soon. This allows you to work on configuring the new theme privately, without disrupting the user experience.
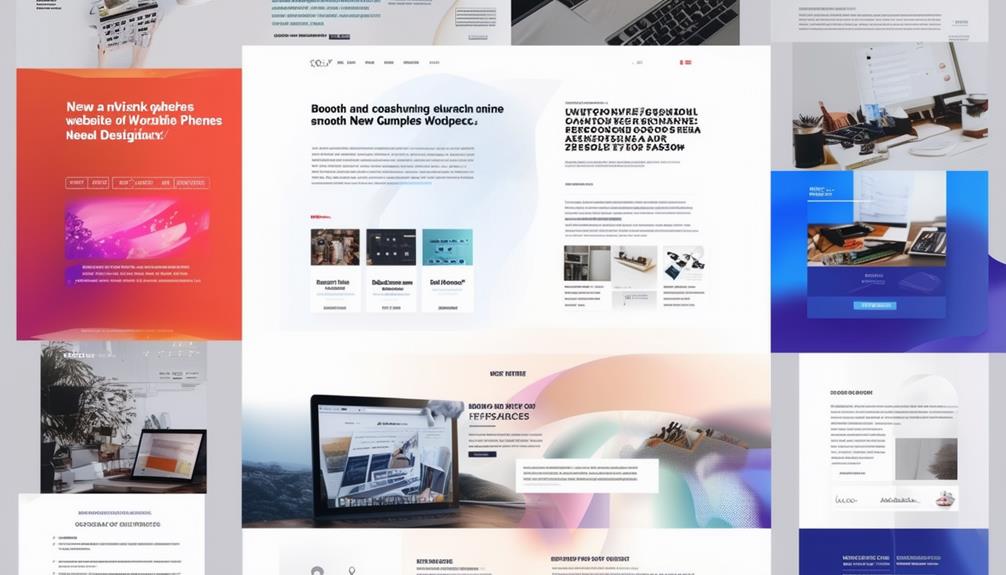
Installing and Testing the New Theme
Before installing your new theme, back up your site to prevent any data loss. Use a staging site to test the theme without affecting your live site. Verify plugin compatibility to ensure everything works seamlessly with the new theme.
Backup Before Theme Change
To safeguard your content, always back up your website before changing your WordPress theme. This precaution prevents potential data loss during the theme change process and can save you from future issues.
Here's a concise guide to backing up your WordPress site:
- Choose a Backup Plugin: Select a reliable plugin like UpdraftPlus or BackWPup that suits your requirements.
- Install and Activate the Plugin: Go to your WordPress dashboard to install and activate your chosen plugin.
- Configure Backup Settings: Set up the plugin to back up both your files and database. Ensure backups are stored securely, such as in cloud storage.
- Run a Full Backup: Initiate the backup process to create a comprehensive copy of your site, covering all content, themes, and plugins.
Use a Staging Site
Creating a staging site allows you to safely install and test a new WordPress theme without impacting your live site. A staging site replicates your live site, enabling you to make changes, such as installing and customizing a new theme, before they go public. This process is essential to ensure your content, design, and functionality remain intact during the theme switch.
To start, set up a staging site using a plugin or through your hosting provider. Many hosting services offer one-click staging environments, simplifying this process. Once your staging site is ready, install the new WordPress theme there first. This lets you explore and adjust the new theme without any risk to your live site.
During this testing phase, closely examine how your content displays and how the site's design elements function. This is crucial for identifying and resolving issues before they affect your live site. By making necessary adjustments on the staging site, you ensure a smooth theme change when you go live. Using a staging site is a critical step to maintain your site's performance and user experience during a theme change.
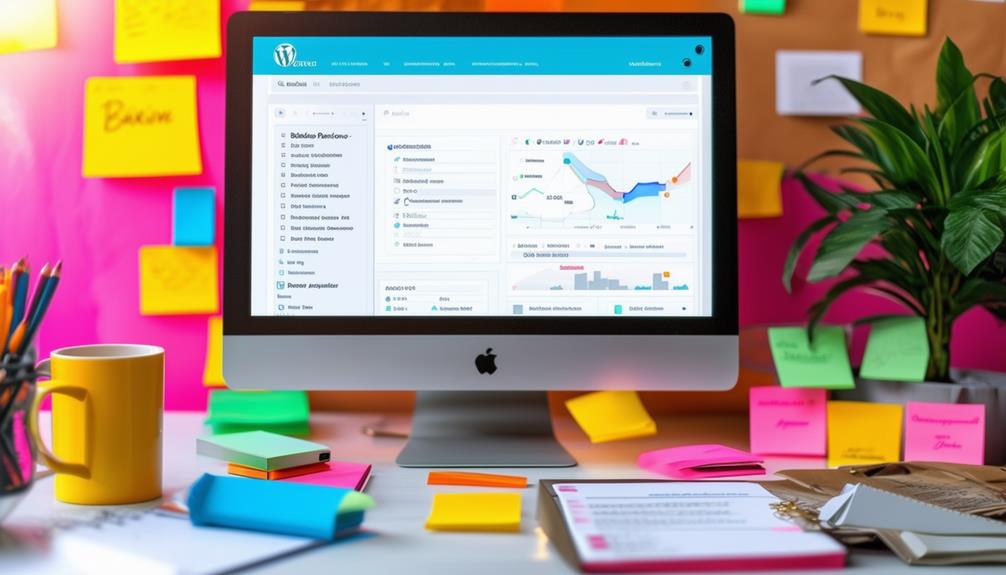
Test Plugin Compatibility
After setting up your staging site, the next step is to install and activate the new theme to test plugin compatibility and ensure that all plugins function correctly. Confirming that there are no plugin conflicts and that key plugins, such as security and SEO tools, work seamlessly with the new theme is crucial.
To effectively test plugin compatibility, follow these steps:
- Activate the New Theme: Begin by activating the new theme on your staging site. This will help you identify any immediate issues.
- Check Key Plugins: Prioritize essential plugins, particularly your security and SEO tools. Verify that they operate smoothly without any issues.
- Test Each Plugin: Review each installed plugin individually. Ensure their functionalities are intact and that there are no conflicts.
- Monitor Performance: Evaluate the performance of your site with the new theme. Ensure that none of the plugins slow down your site or cause malfunctions.
If you encounter any plugin conflicts, update the plugins or contact the developers for compatibility support. By thoroughly testing your plugins, you can ensure a smooth transition to your new WordPress theme without losing functionality or site performance.
Switching to the New Theme

When you're ready to switch to the new theme, start by backing up your current theme settings to ensure no data is lost. Next, install and preview the new theme to identify any potential issues. Finally, activate the new theme and customize it to align with your site's design and functionality.
Backup Current Theme Settings
Backing up your current theme settings is essential to ensure you don't lose any customizations when switching to a new theme. Follow these steps to secure your theme options, custom CSS, widget configurations, and other customizations:
- Export Theme Options: Navigate to your theme settings panel or customizer and export any theme-specific settings. This could include layout preferences, header images, and other customizations unique to your theme.
- Backup Custom CSS: If you've added custom CSS, make sure to copy and save these snippets separately. They can easily be lost during the theme switch.
- Save Widget Configurations: Use a widget export plugin to save the settings of your widgets. Widgets can be unique to your theme and may not automatically carry over to a new theme.
- Preserve Tracking Codes and Scripts: Save any tracking codes, custom scripts, or snippets separately. You'll need to re-integrate them into the new theme.
Additionally, use a reliable plugin like UpdraftPlus or BackupBuddy to create a full backup of your WordPress site before making any changes. This will ensure that you can restore your site to its previous state if anything goes wrong during the theme switch.
Install and Preview Theme
To install and preview a new theme in WordPress, begin by navigating to the Appearance > Themes section in your WordPress dashboard. Here, you will find the option to add a new theme. Click the 'Add New' button to browse through the available themes or upload a theme you have already downloaded. After selecting your desired theme, click the 'Install' button.
Before activating the new theme, it is crucial to see how it will impact your site's appearance and functionality. Use the Live Preview button to check this. The Live Preview option allows you to see the new theme in action without making it visible to your visitors. During the preview, ensure the new theme aligns with your branding and design preferences. Test different pages to confirm that the layout and functionality meet your needs.
If you are satisfied with the preview, you can proceed to the next step. Do not click the Activate button until you are completely happy with the new theme. Activating the theme will finalize the change, making it live for your visitors.
Activate and Customize Theme
Switching to a new theme starts by navigating to Appearance > Themes and clicking the Activate button on your selected theme. Once activated, customize the theme to match your design preferences using the WordPress Customizer tool. This ensures your site retains its unique branding and desired appearance.
To ensure a smooth and seamless transition, follow these steps:
- Check Content Integrity: Verify that all pages, posts, and media remain intact after activating the theme.
- Test Functionality: Navigate through different pages, menus, and widgets to ensure everything works correctly.
- Adjust Design Elements: Customize colors, fonts, and layouts to align with your brand identity.
- Review Plugins: Ensure that all plugins are functioning properly with the new theme.
Post-Switch Checklist
After changing your WordPress theme, it's crucial to perform a thorough post-switch checklist to ensure everything functions seamlessly and maintains coherence. Initially, confirm that all your pages, posts, media, and other content remain intact after switching themes. It's essential to verify that nothing is missing or appears out of place.
Next, ensure your homepage displays correctly with the new theme, as it often serves as the first impression for your visitors. Additionally, check that your menus are correctly set up and linked to the appropriate pages to avoid confusing visitors and disrupting navigation.
Remember, custom CSS does not transfer automatically to the new theme. To restore previous customizations, access the CSS history in the Customize section. This step ensures that your personalized styles are retained.
Here's a quick reference table:
| Task | Description | Action Required |
|---|---|---|
| Check Content | Confirm all pages, posts, and media are intact | Verify content visibility and integrity |
| Verify Homepage | Ensure the homepage displays correctly | Adjust settings in theme options if needed |
| Set Up Menus | Ensure menus link to the correct pages | Reconfigure menu settings |
| Recover Custom CSS | Restore past custom styles | Access CSS history in Customize section |
Following this checklist will help you maintain a smooth, functional, and visually consistent website after changing your theme.
Gathering User Feedback
Gathering user feedback on your new theme's appearance and functionality is crucial for ensuring a positive user experience. After implementing a theme change, actively solicit your users' opinions to understand how the new design affects their interaction with your site. Here's a structured approach for collecting user feedback:
- Surveys: Design surveys that focus on specific aspects of the theme change, such as ease of navigation and visual appeal.
- Polls: Use quick polls on your site or social media to ask users simple, direct questions about their experience with the new theme.
- Direct Messages: Engage with your audience through direct messages or emails, inviting them to share detailed feedback.
- Analyze Responses: Collect and review all responses to identify common issues or areas needing improvement.
After gathering this feedback, analyze it to identify recurring problems or opportunities for enhancement. Adjust the theme based on this user feedback to boost user satisfaction and engagement. Remember, user experience is an ongoing process; continuously monitor and respond to user feedback to keep improving. This proactive approach ensures that your WordPress site remains user-friendly and effective long after the theme change.
Conclusion
Changing your WordPress theme doesn't have to be stressful. By backing up your site, activating maintenance mode, and thoroughly testing the new theme, you can ensure a smooth transition. Once the new theme is active, customize and test everything on your live site. Lastly, gather user feedback to make any necessary adjustments. By following these steps, you can update your site's look without losing valuable content.