Creating an Effective Newsletter from Scratch using WordPress and MailPoet

Want to send newsletters to your visitors but don’t know where to start? Don’t want to outsource or bust your wallet? How about sending newsletters right from your WordPress admin panel?
There’s no need to use 3rd party services for sending newsletters. You can do it yourself for free. Furthermore, you can control everything from the dashboard of your beloved CMS--very convenient for sending interesting content to a smaller community of readers.
Tools exist for creating & sending newsletters easily on WordPress. Newsletters can be matched to your website’s look even if you aren’t design-savvy. Newsletter plugins give you a lot of control over the way you send emails. They also provide useful insights about your readers’ habits.
Now, however, let’s jump right into the action and quickly send your first newsletter:
1. Add Newsletter Functionality to your WordPress Website

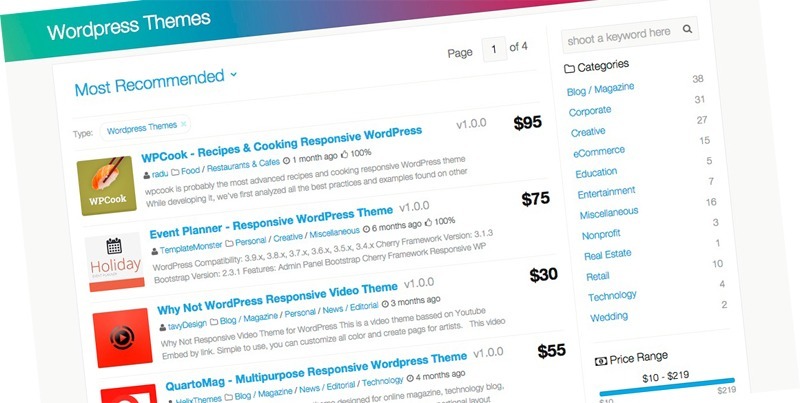
There are a number of solutions for adding newsletters to WP sites. However, MailPoet, formerly Wysija, clearly beats the competition by a mile (perhaps a nautical mile). This email newsletter plugin does almost everything you want it to do. It’s based on a 'freemium' model -- for lists of up to 2000 subscribers you can use it without spending a dime.
MailPoet allows sending emails with a 3rd party provider like Amazon SES, or Gmail for smaller lists. It sports a lot of functionality and is extremely user friendly, allowing you to create forms and emails with drag’n’drop. Send posts, create autoresponders, receive stats, segment the newsletter -- MailPoet does it all.
Here’s a helpful two-minute introduction if you’re interested.
2. Capture Emails using MailPoet
Now that you’ve set up the basic functionality, it’s time to place a form on the website that allows capturing emails.
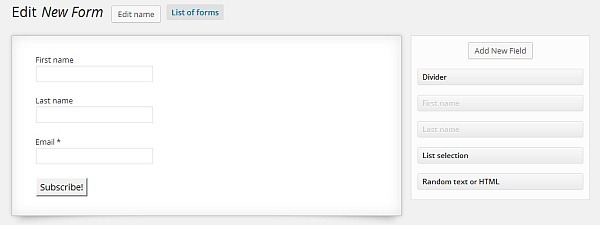
MailPoet allows the creation of web forms out of the box. They don’t look too pretty by default. But you can customize their CSS fairly easily. Once you’ve created a form (you can do it in the ‘Settings’ tab of the plugin), you can edit its design. However, CSS knowledge will be required for that. But here’s a helpful guide that should get you started. Separate plugins can be used to update the form.
Once the form is ready, you can add it anywhere on the site from the WordPress ‘Widgets’ menu. It automatically starts capturing emails to a newsletter of your preference. A good place for an subscription form is the sidebar, but you might want to tinker about with the placement and monitor the effect it has on the efficiency of email captures.
3. Sending Email NewsLetters with MailPoet
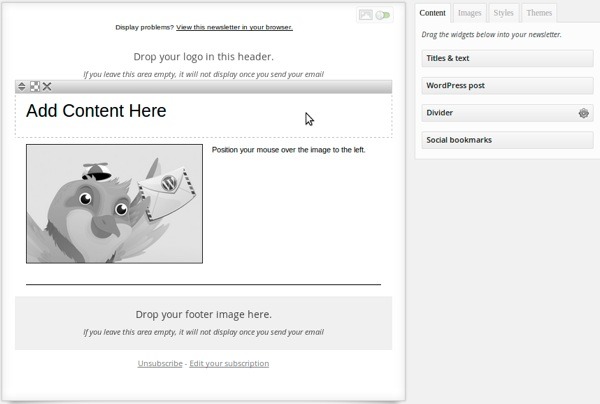
Now that you’re up and running and hopefully with a healthy, growing email database, it’s time to design and send your newsletters. At the ‘Newsletters’ menu you’ll be able to find a template (or start from scratch if you want). Select one, come up with a nice headline and choose the list you’ll be mailing to--or, alternatively, simply mail all the registered users.
Designing newsletters with MailPoet is quite intuitive, and there isn’t much more to say about it. There are some 20 themes to choose from. Designing one yourself is also an option. Don’t forget to adjust newsletter themes to your website’s color scheme in the ‘Styles’ panel.
Once you’ve added content--you can drop posts and other content right into the email--and it seems ready, head on to the next step to review, test and schedule the newsletter. If everything looks orderly, send the newsletter to your happy subscribers. It’s easy like that.
Of course there’s much more to creating newsletters than that, and thankfully MailPoet’s developers seem to be aware of that. You can segment lists (for sending separate newsletters to different subscribers, or for testing purposes), view statistics, pair your newsletter with affiliate plugins, and much more.
A Word of Caution While using MailPoet
There are two possible disadvantages to sending newsletters on your own. Your host can get blacklisted or email deliveries may slump. This is due to the fact that mail service providers often blacklist unknown senders without giving it much thought. Delivery rates can slump because the email client filters it as spam. Other than that, there’s not really much you lose by sending newsletters yourself.
It follows that for larger lists-you should definitely outsource email deliveries. Use a third-party sender like Amazon SES for better delivery rates. If not, at least try to abide to your host’s sending limits.
Alternatively, you can choose a dedicated solution for email list management. MailChimp does what most similar services do, but it also has an email chimpanzee.
Conclusion on Setting up Newsletters on your WordPress Website
It’s possible to mail newsletters easily and for free. Newsletters help connecting with your visitors, and it is convenient if you can send newsletters the same way you produce content on your favorite CMS.
Email marketing is a study in itself, though, so we’ve glossed over a great lot of things. Let us know how you send your newsletters and which plugins/services you prefer. Share in the comments!